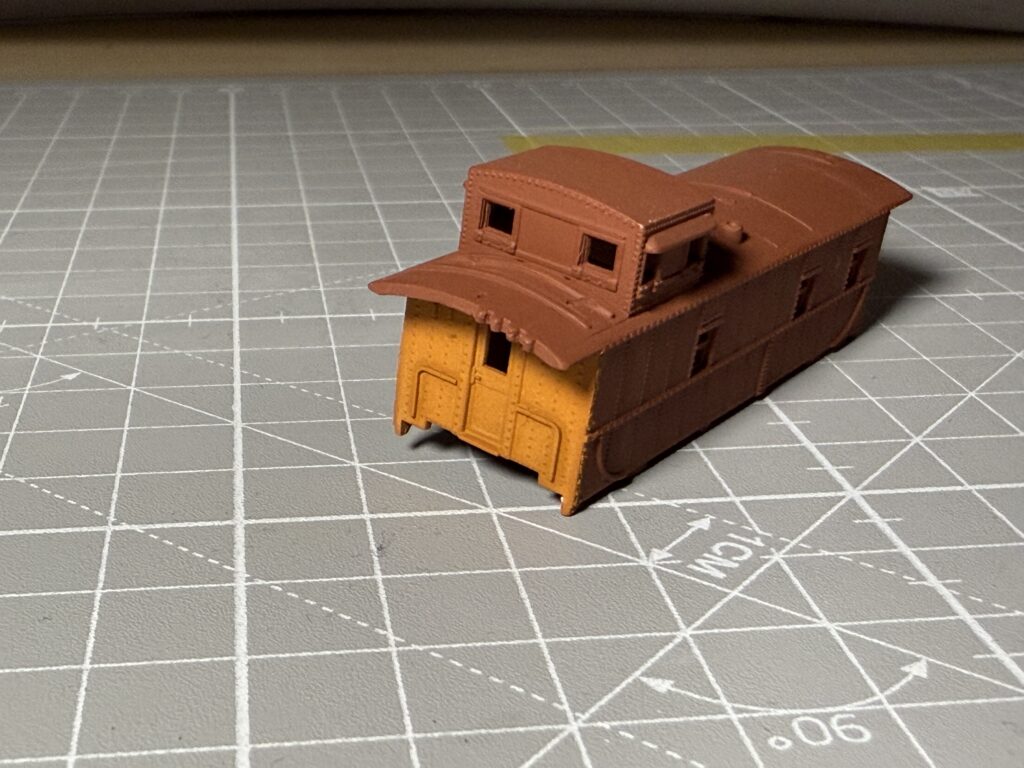
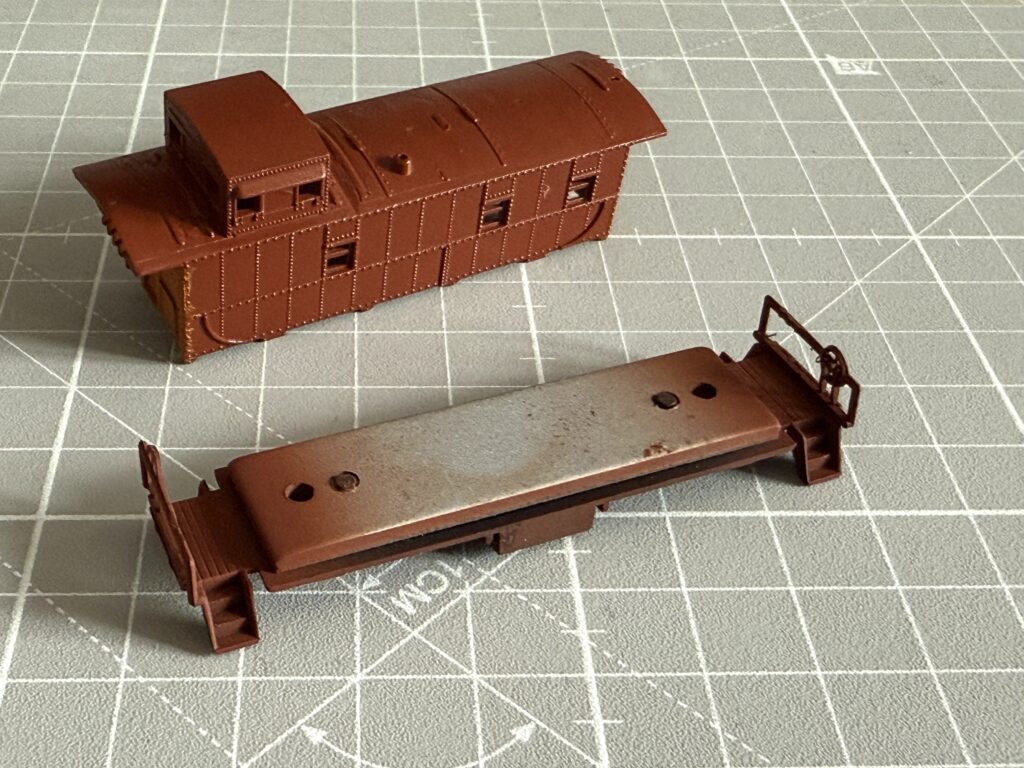
Repainting a locomotive
Step-by-step guide on repainting a locomotive. GP40-2 from CSX to Southern Pacific.
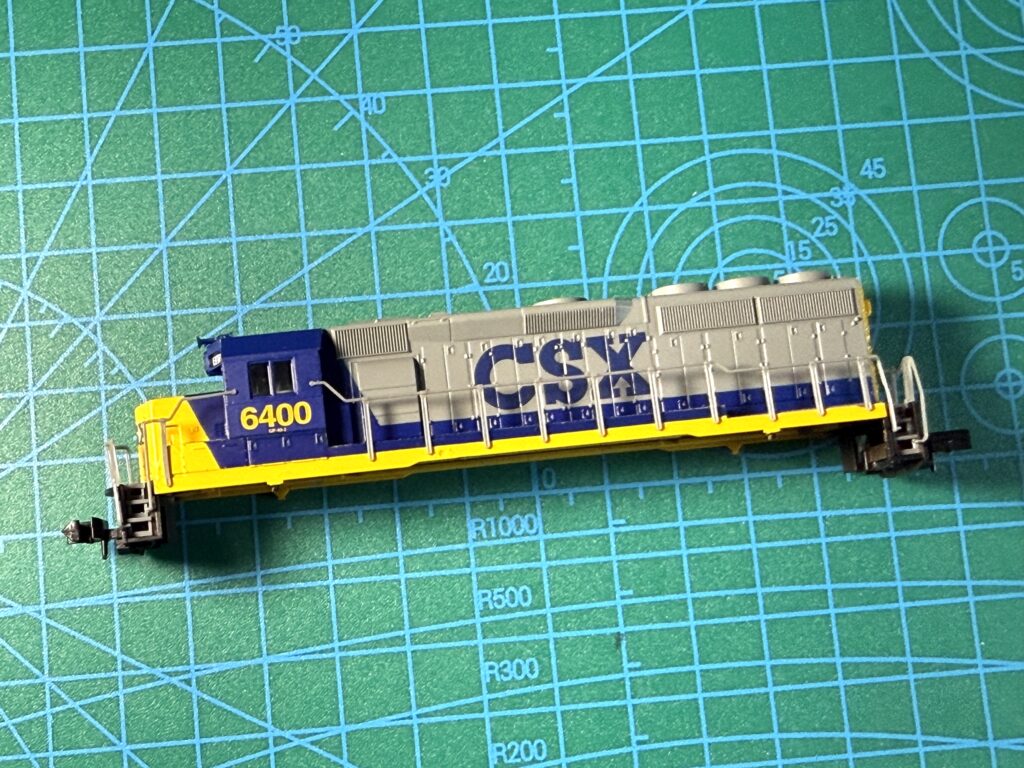
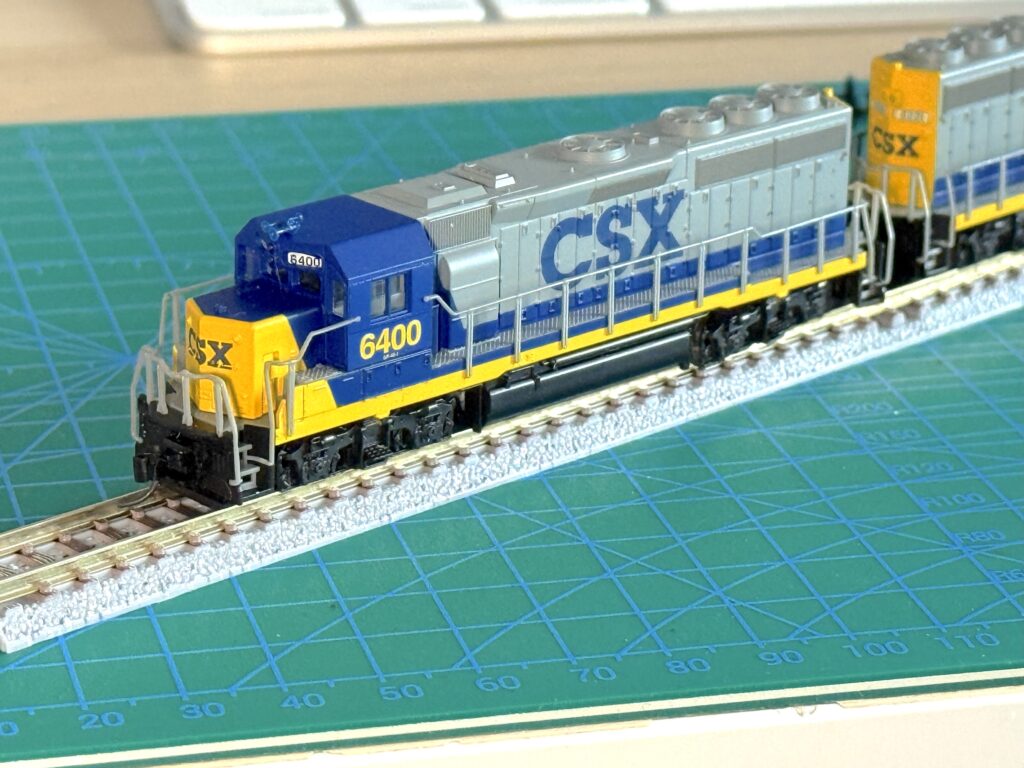
Repainting a locomotive can be a fun and rewarding project. I got a couple of N scale Atlas GP40-2 locomotives painted and lettered for CSX off eBay. They were reasonably priced, and I wanted to repaint and letter them in Southern Pacific Railroad’s “Bloody Nose” paint scheme, so I bought both to use them on my N scale layout.
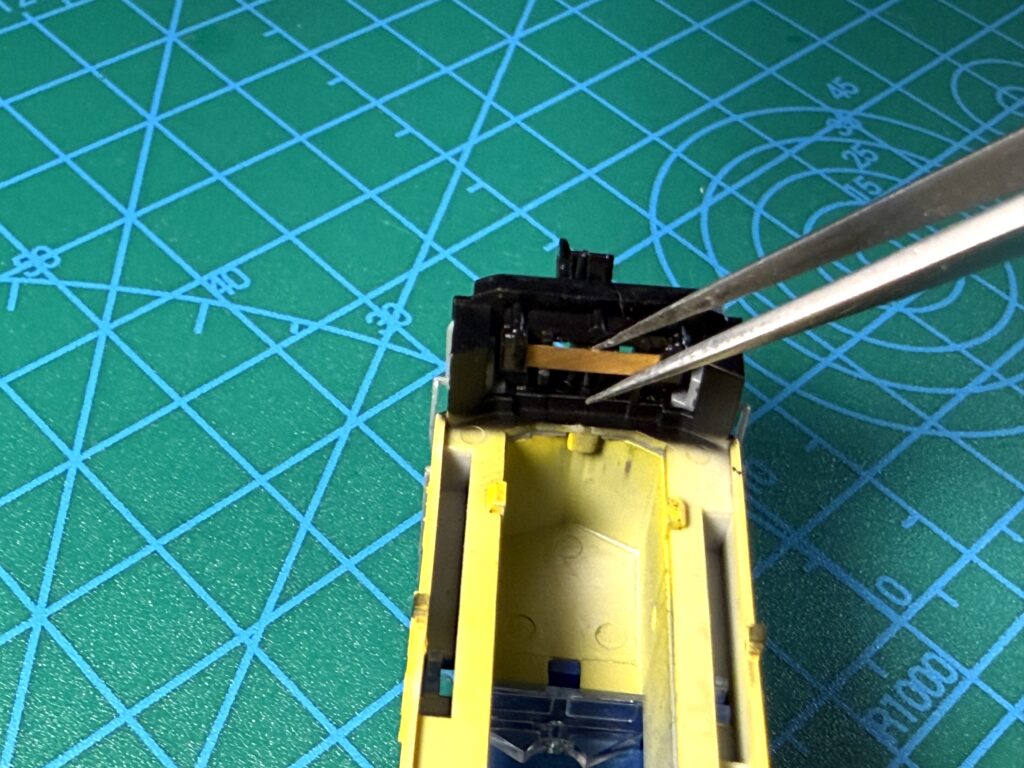
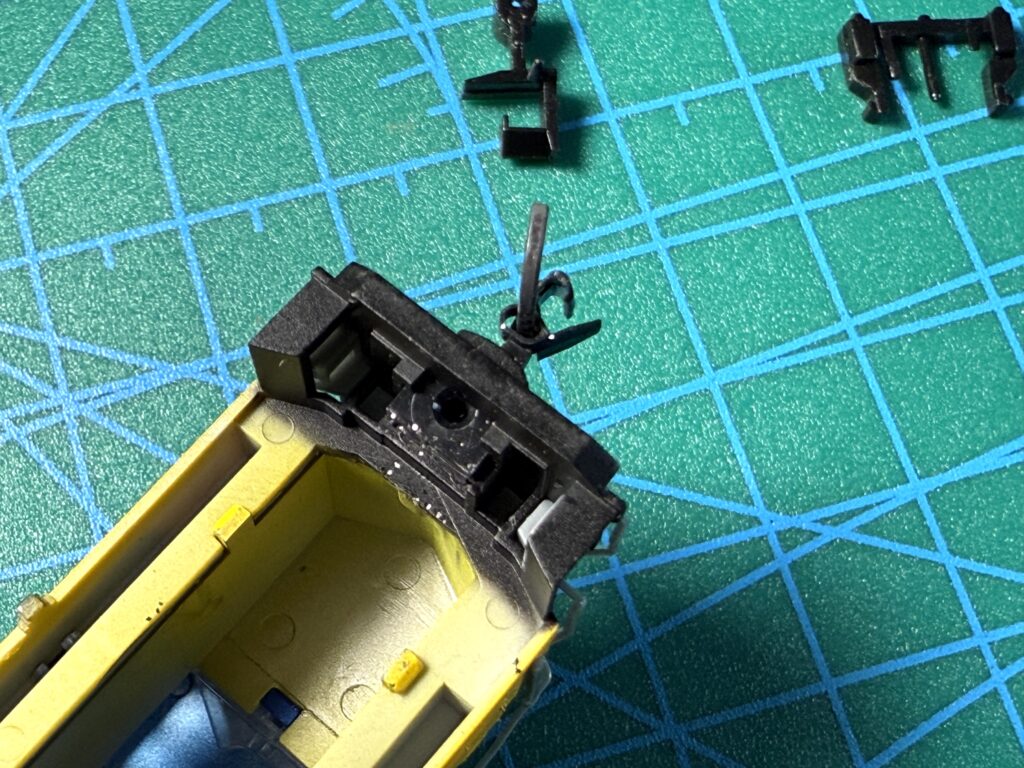
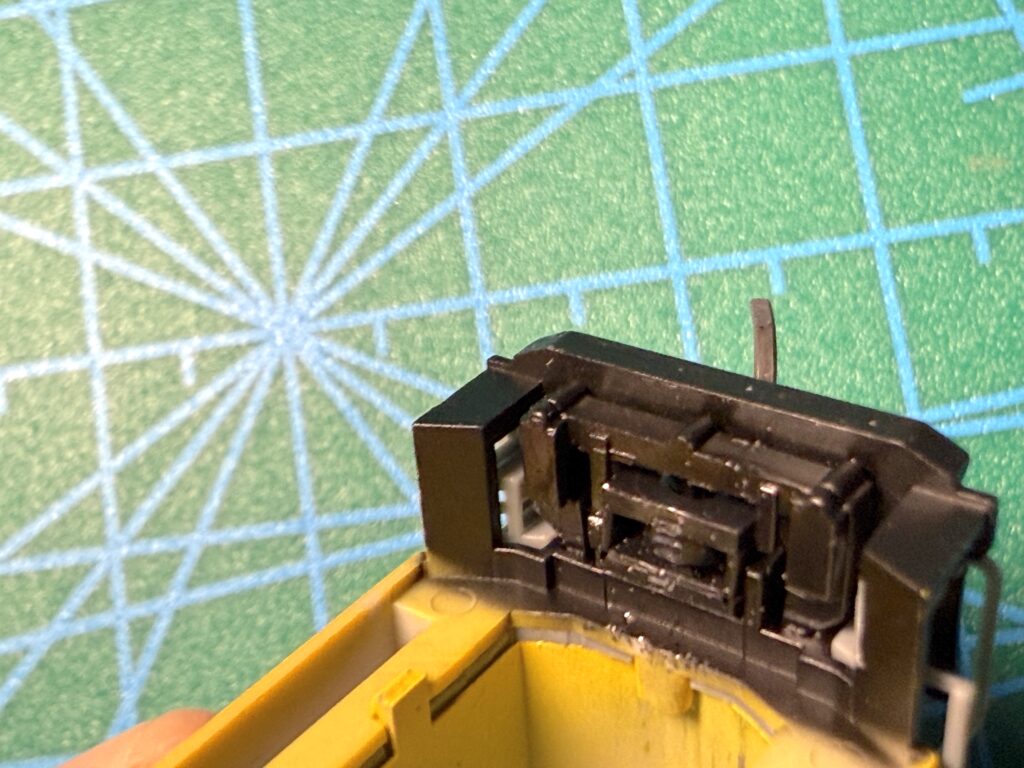
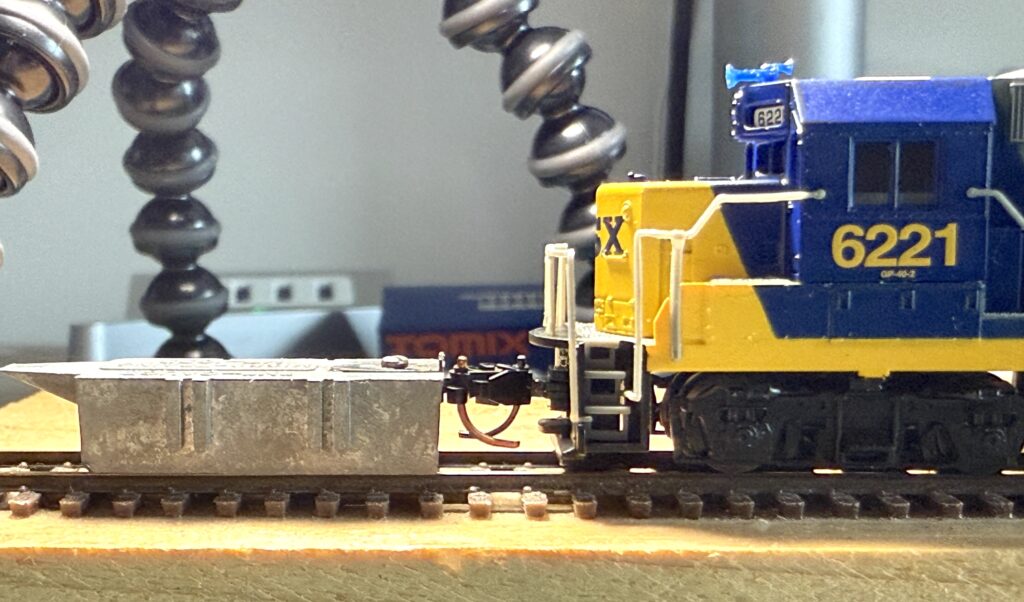
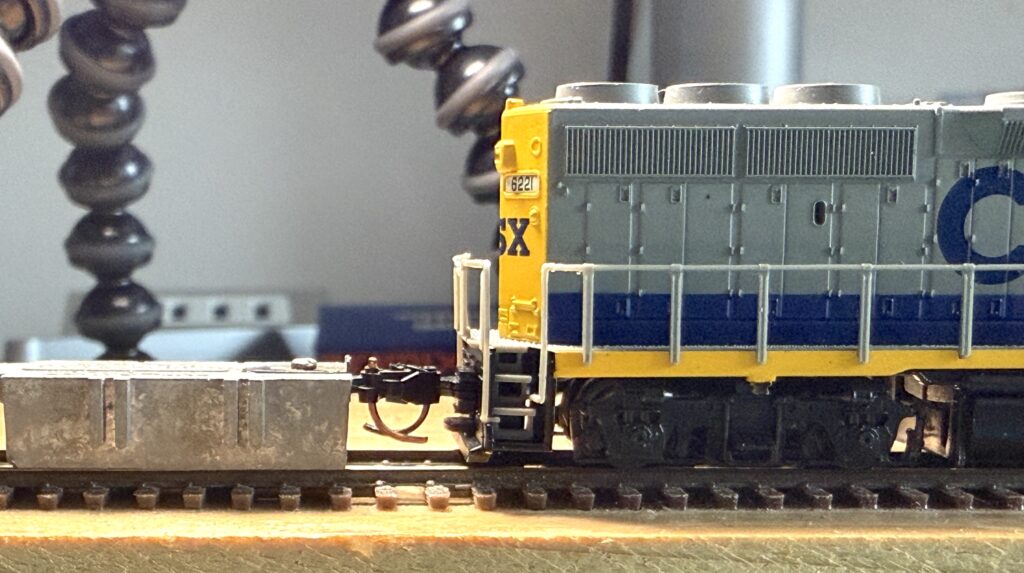
Before proceeding with the repaint, I wanted to make sure I could replace the factory-installed Rapido couplers with Micro-Trains. It turned out to be an easy upgrade.
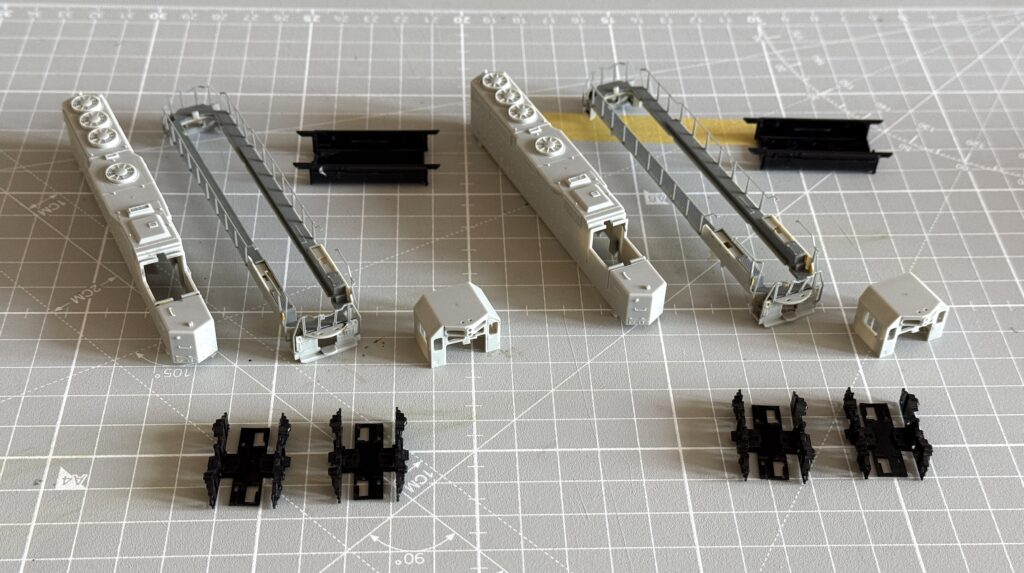
Disassembling
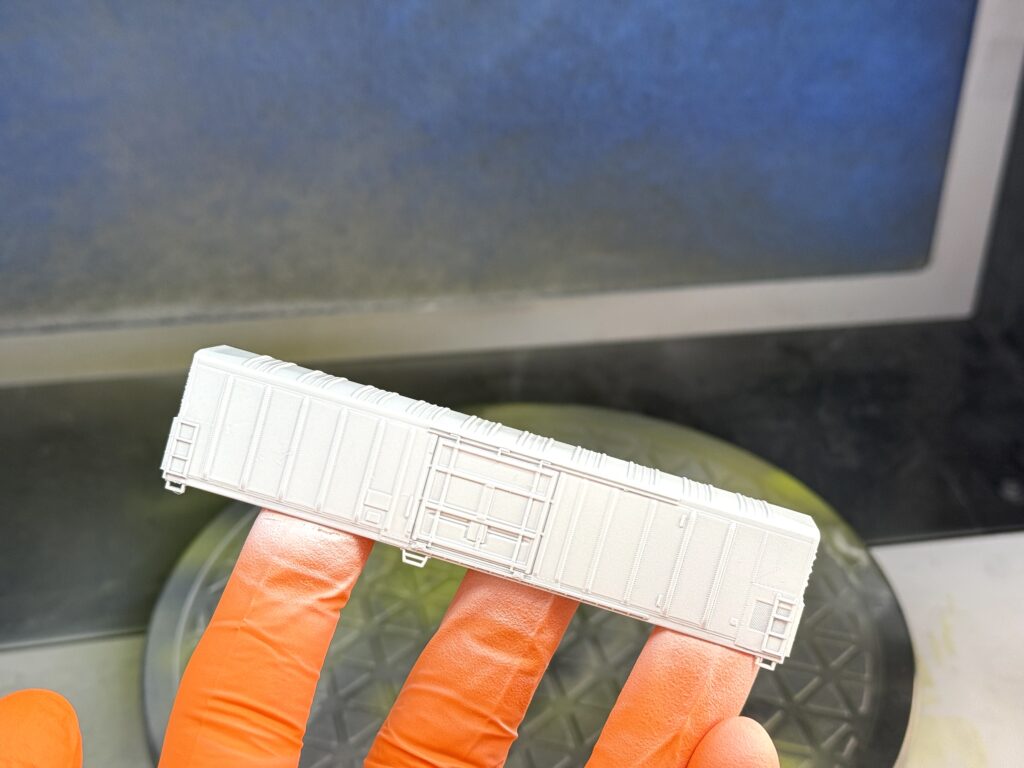
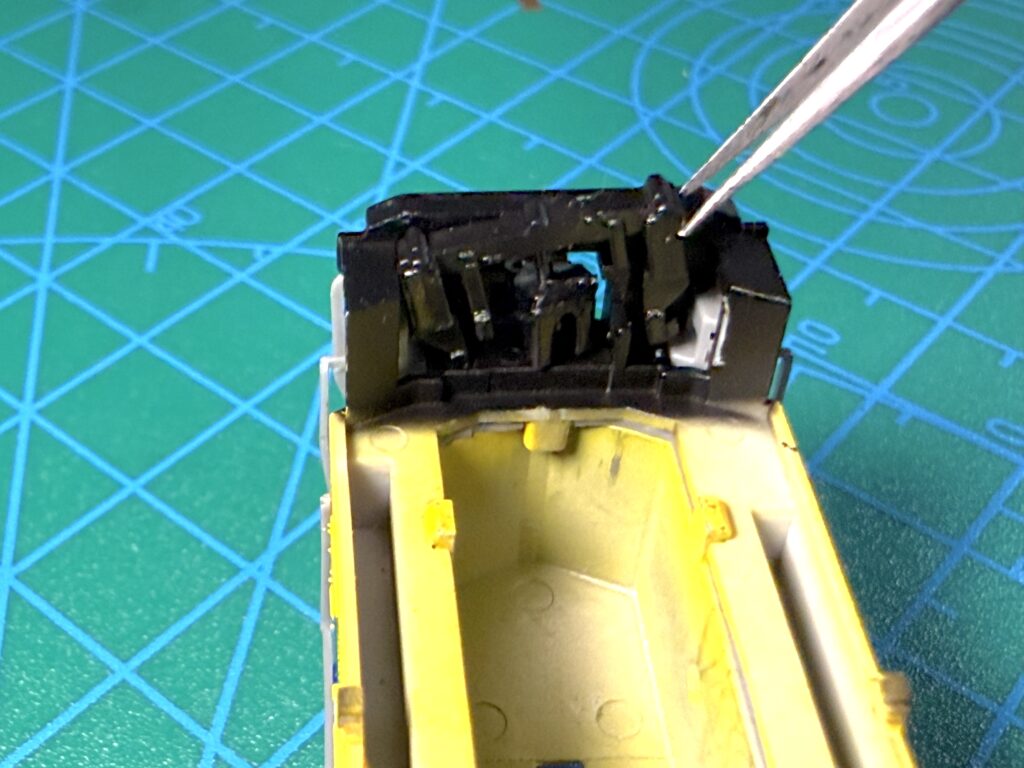
Before repainting a locomotive, it’s best to remove the old paint completely. I began by detaching the shell from the chassis and disassembling all its parts before soaking them in 99% isopropyl alcohol.
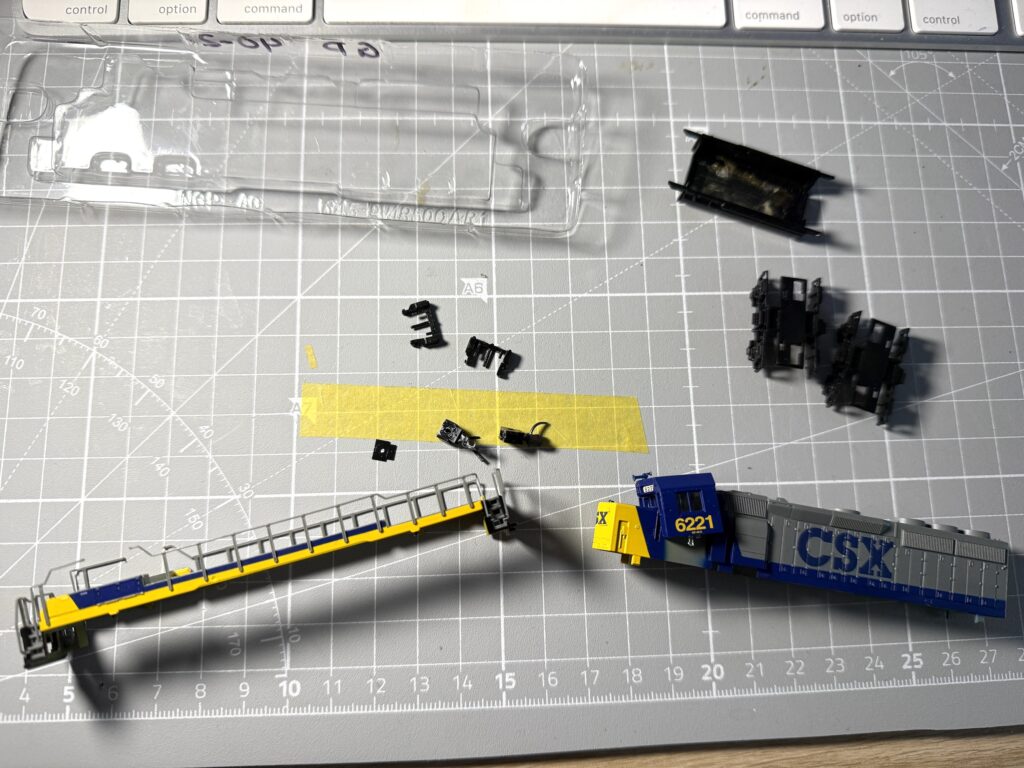
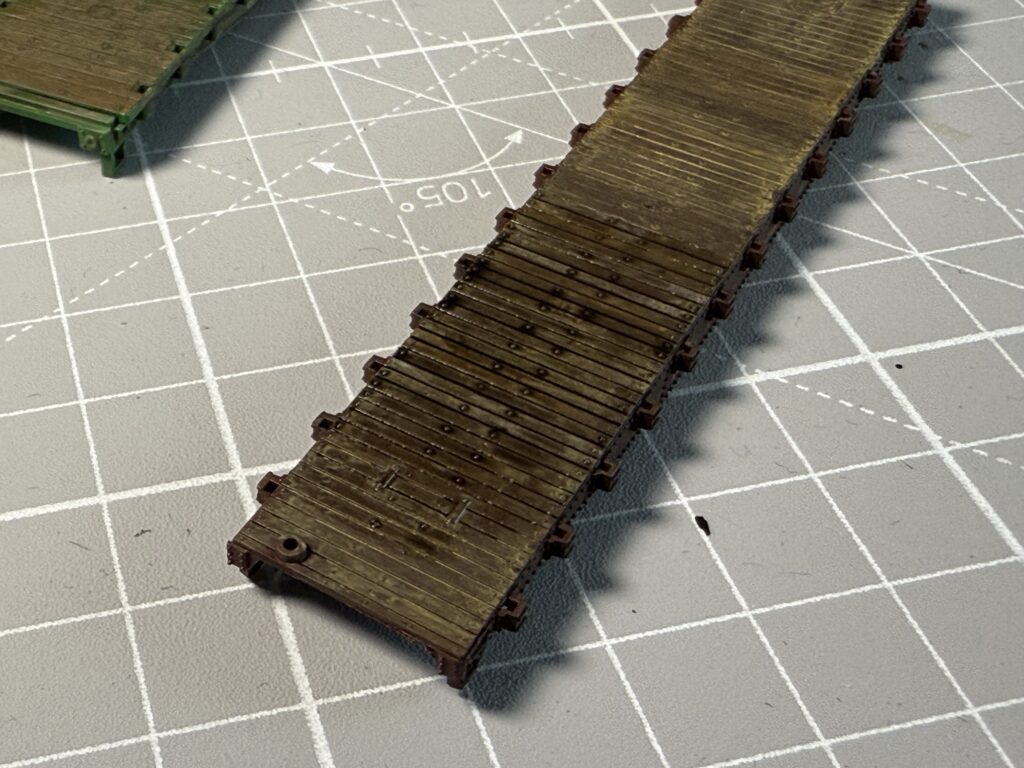
I carefully removed all clear plastic components, such as the headlights and windows. Additionally, I disassembled the trucks, as I plan to repaint them SP Gray.
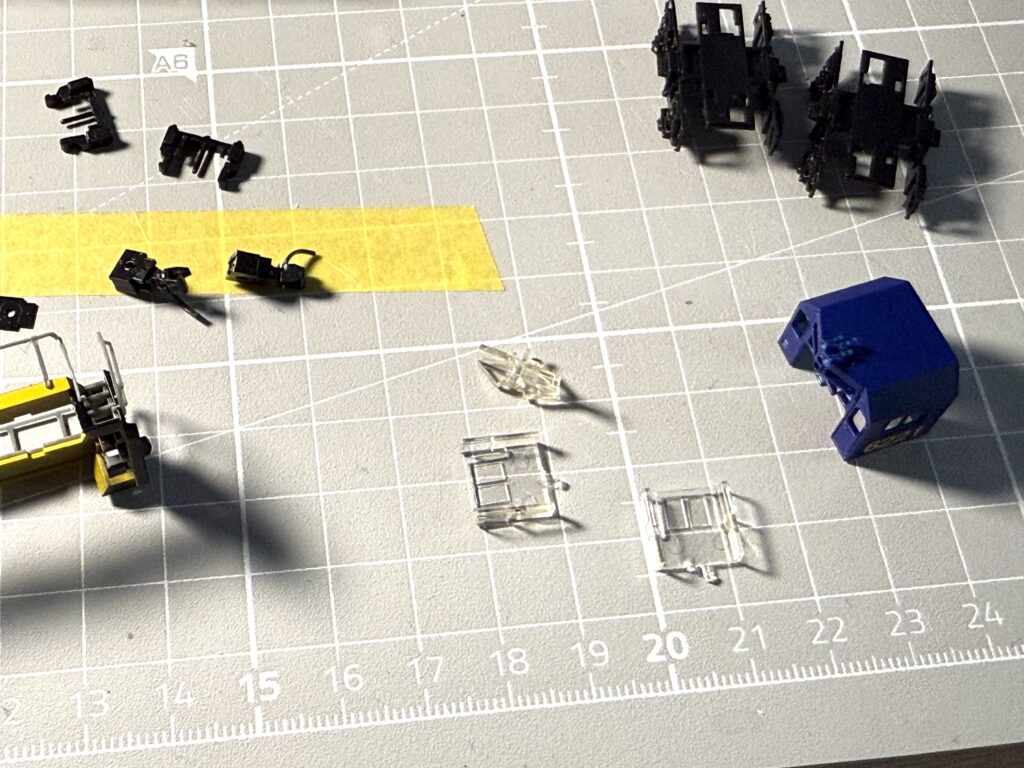
Now, all the parts are fully disassembled and ready for paint stripping.
Paint stripping
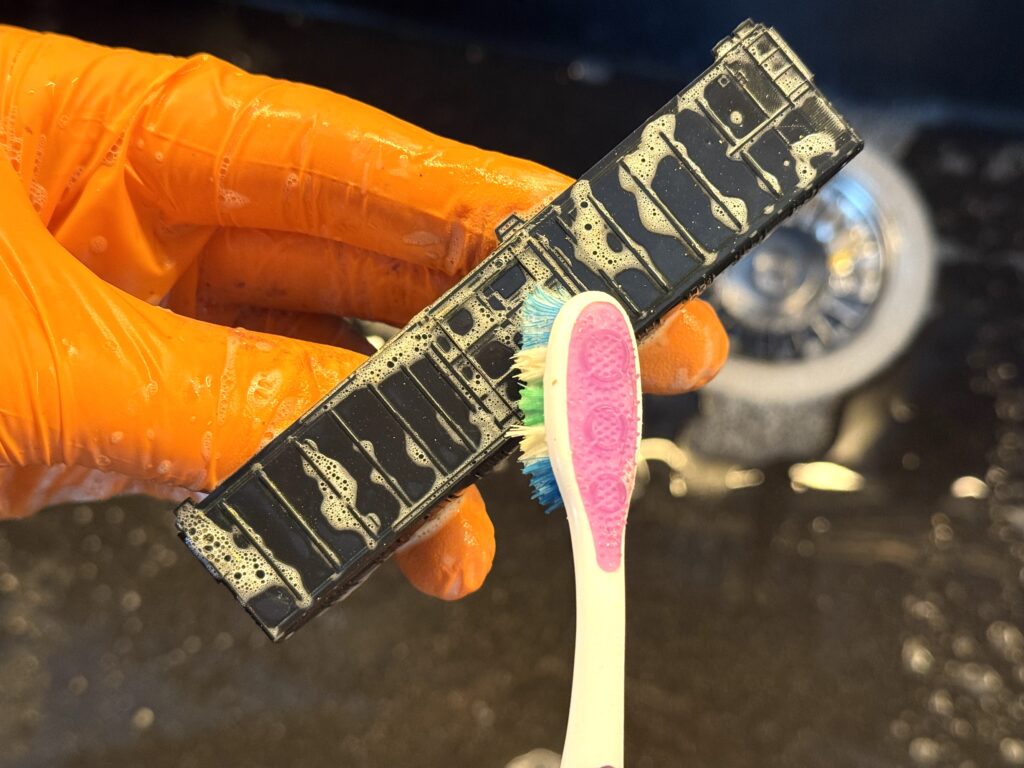
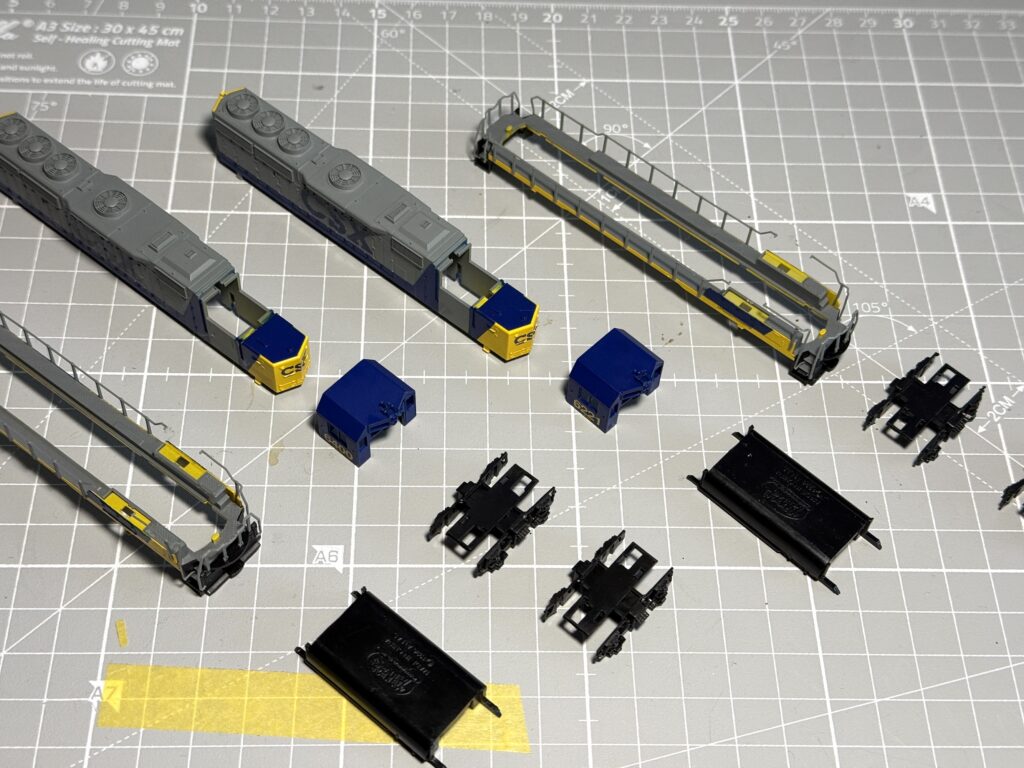
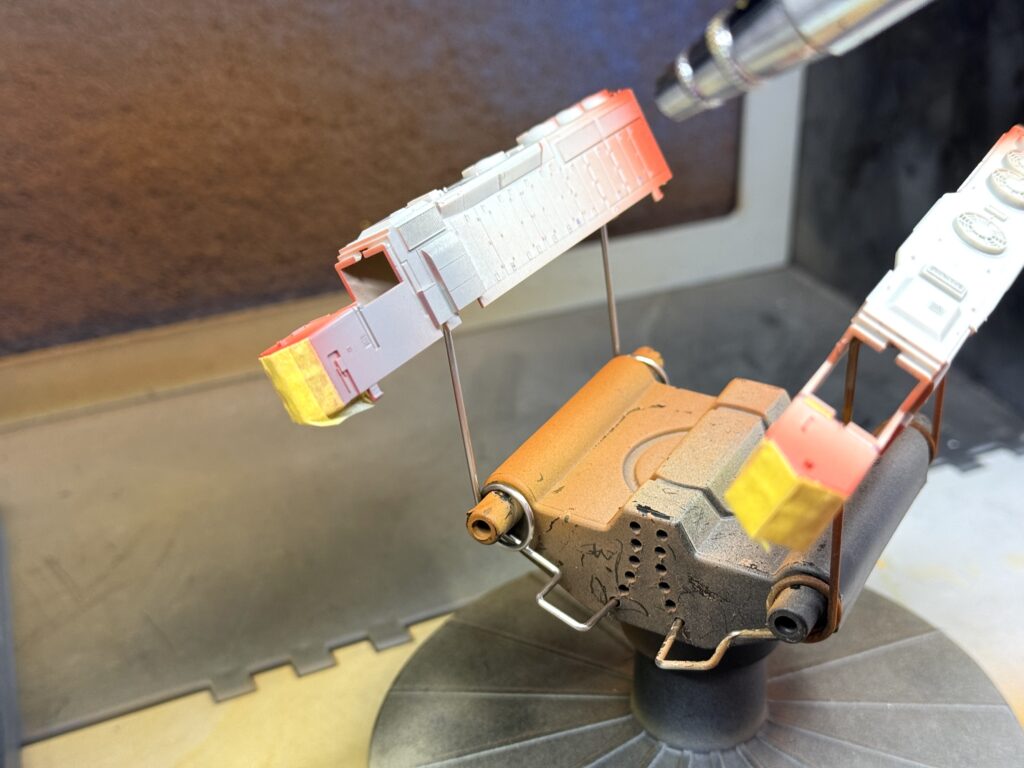
I submerged all the disassembled parts in 99% isopropyl alcohol, using a glass jar with a sealing lid to prevent evaporation
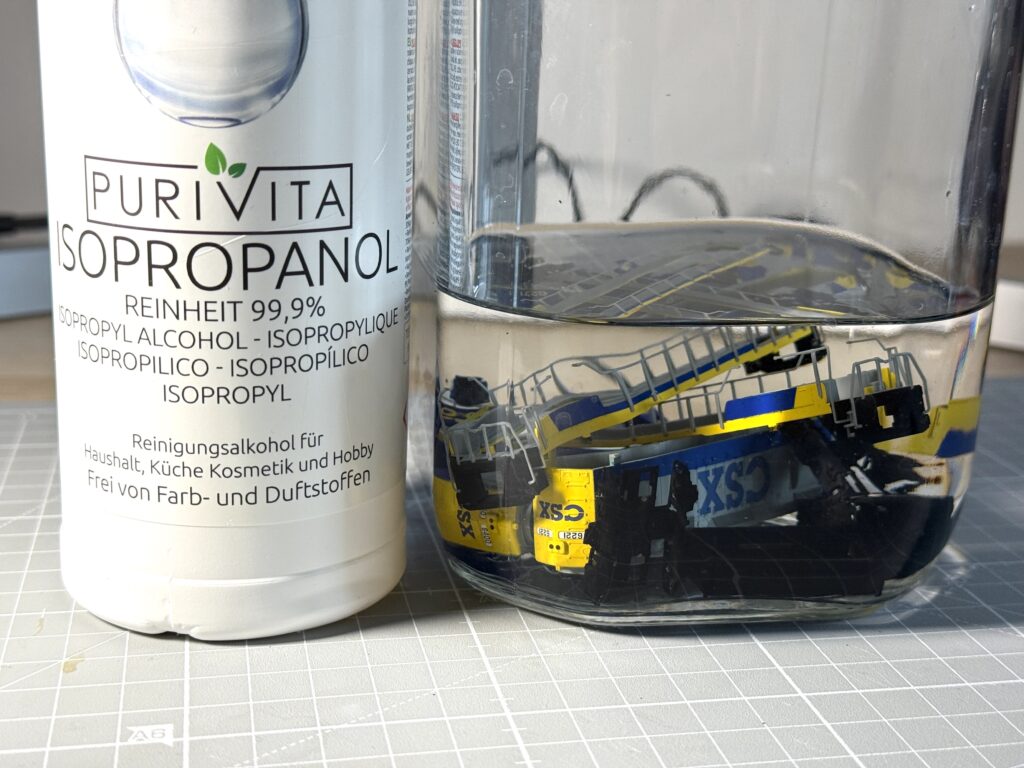
After 24 hours, I used a soft toothbrush to carefully remove all the softened paint. I paid particular attention to the delicate handrails to avoid damaging them while ensuring the paint was completely removed.
Repainting the locomotive parts
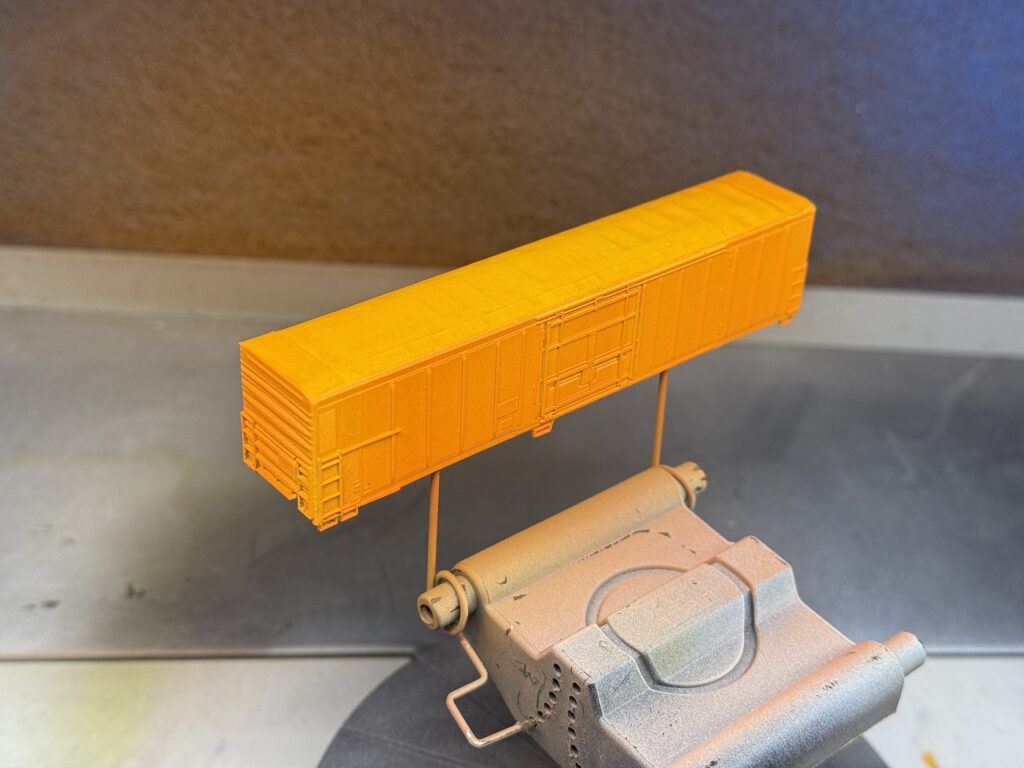
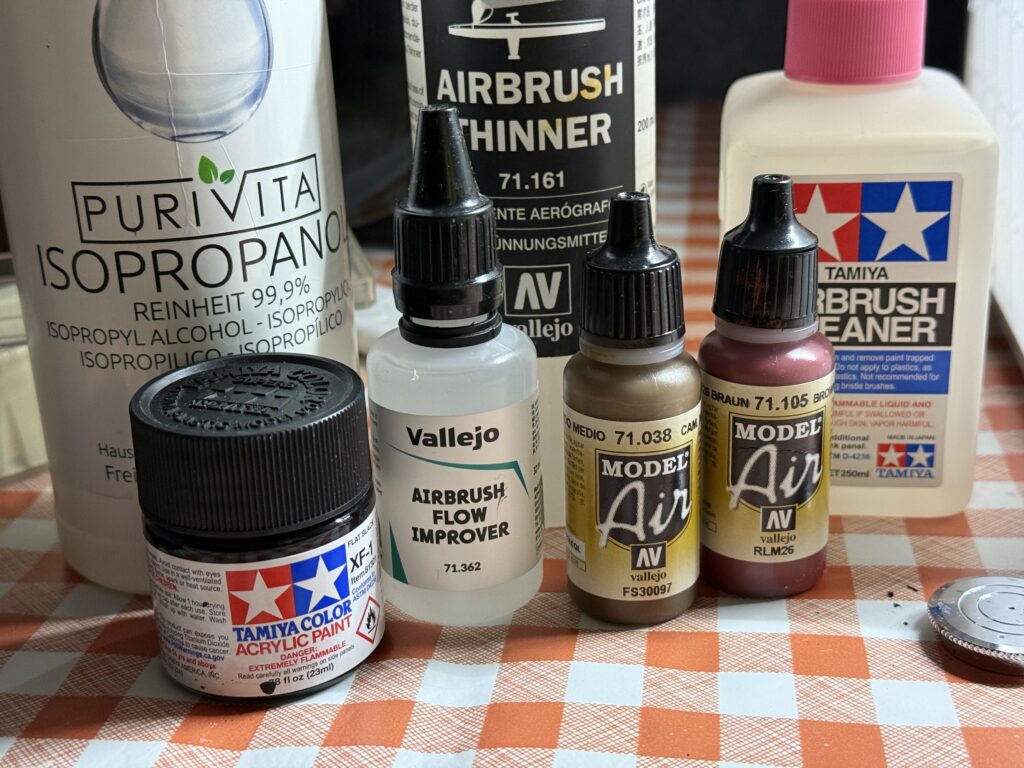
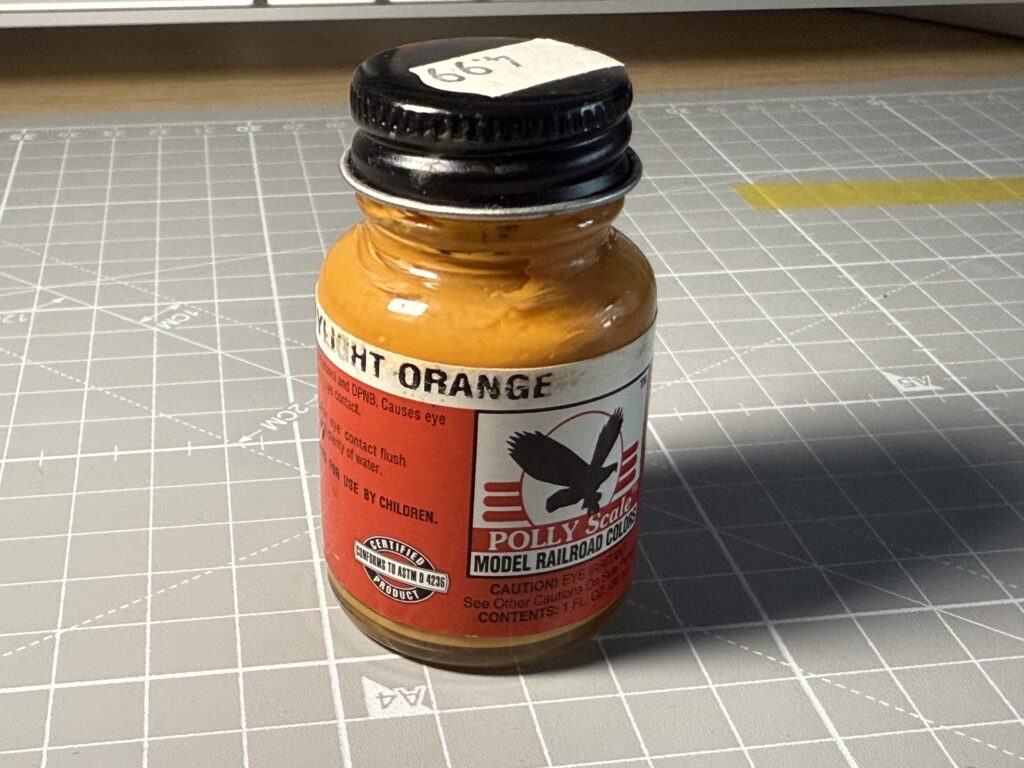
I then painted the nose and tail with SP Scarlet with an unopened bottle of Polly Scale paint that has lasted through the years – I purchased it in 2006! A a backup bottle of Vallejo Red RLM23 (71.003) was available, which can be used as a substitute for the discontinued Polly Scale color.
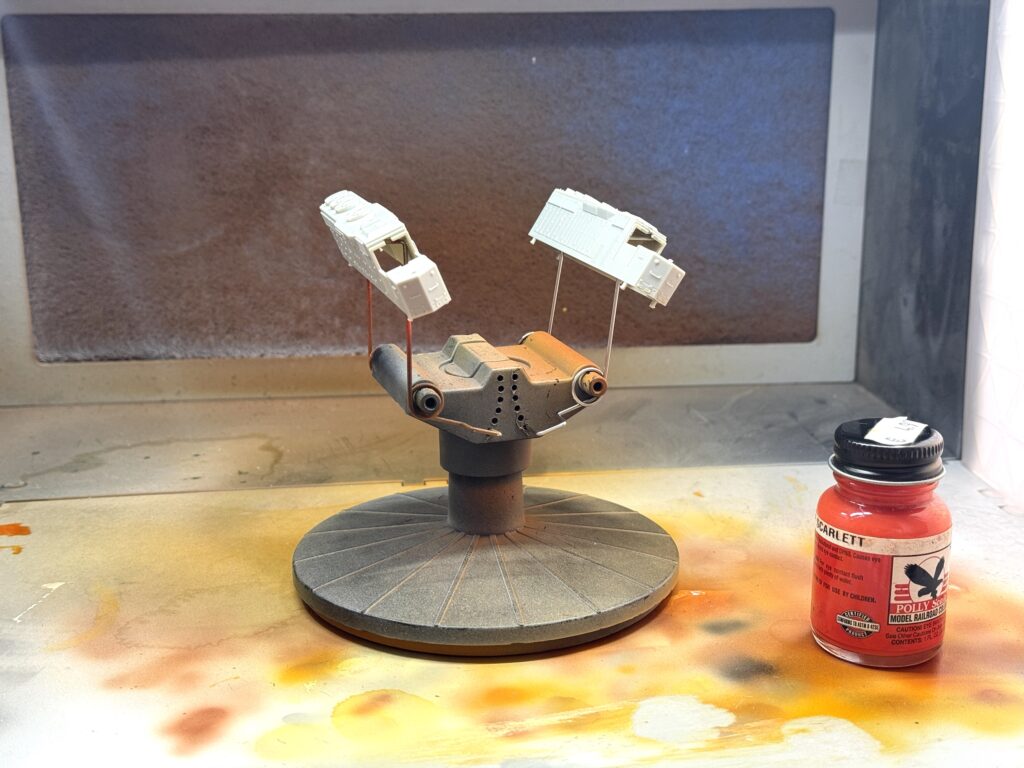
I prefer SP Scarlet from Polly Scale over Vallejo Red, as it should match the red “wings” on the Microscale decals.
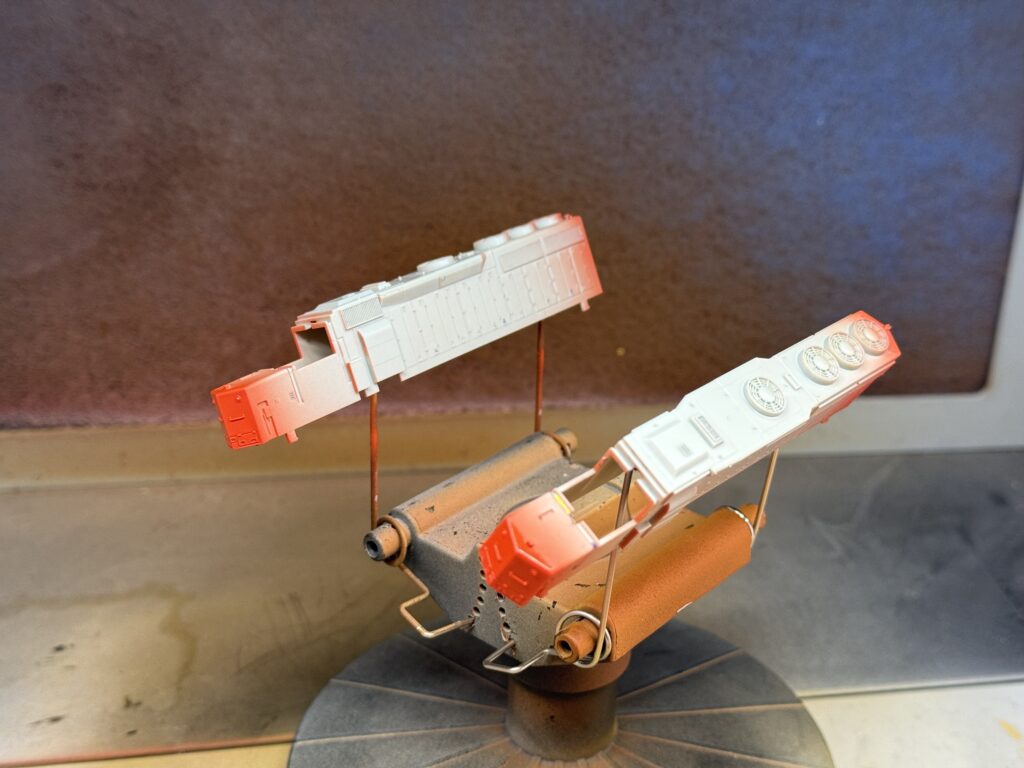
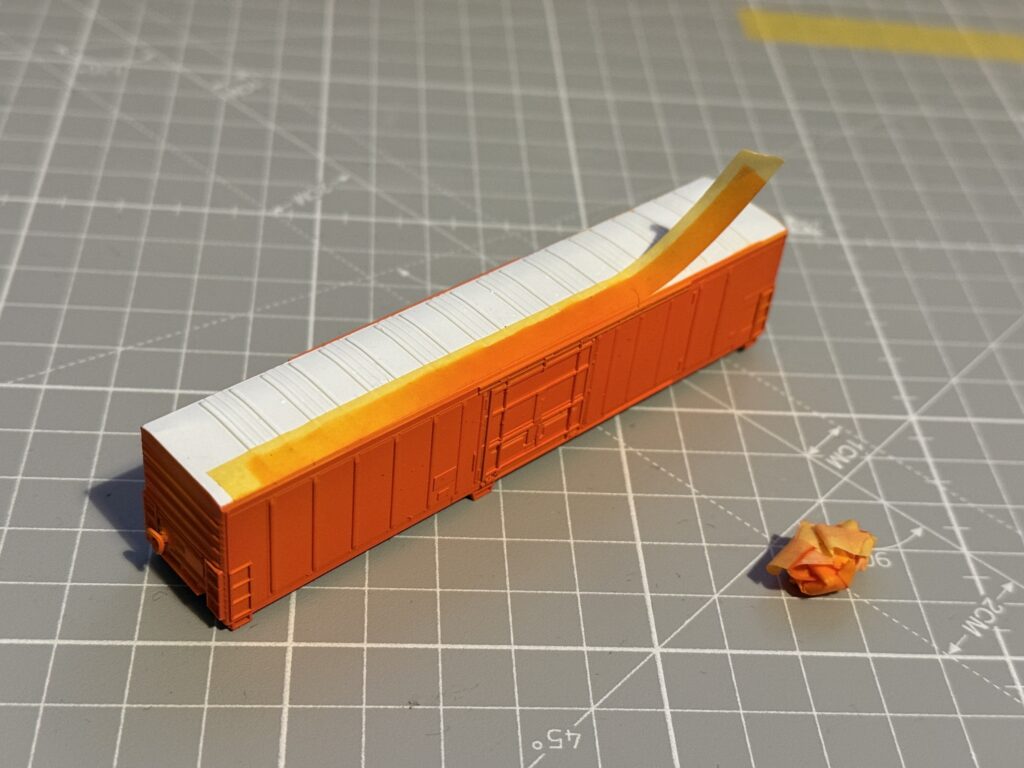
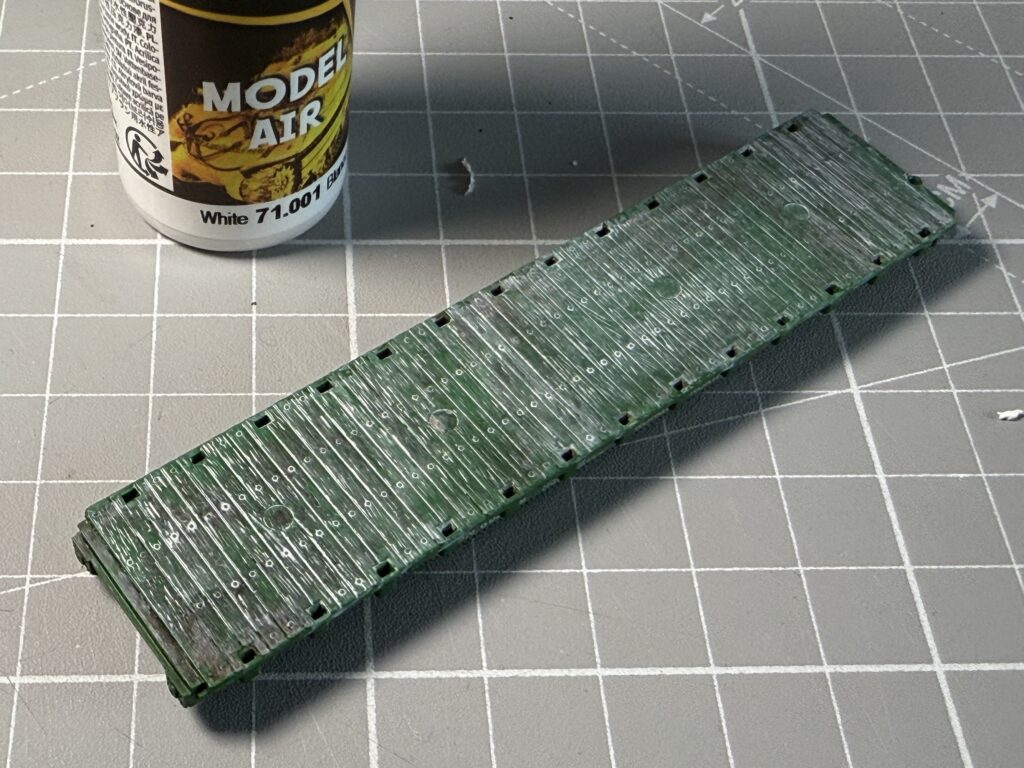
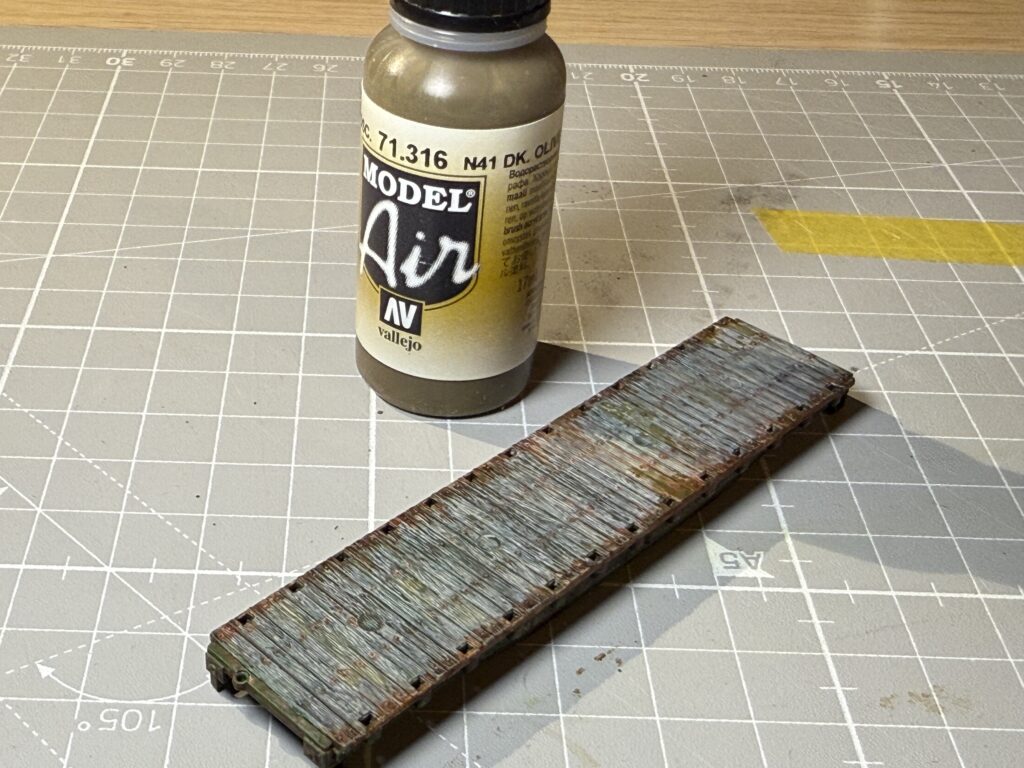
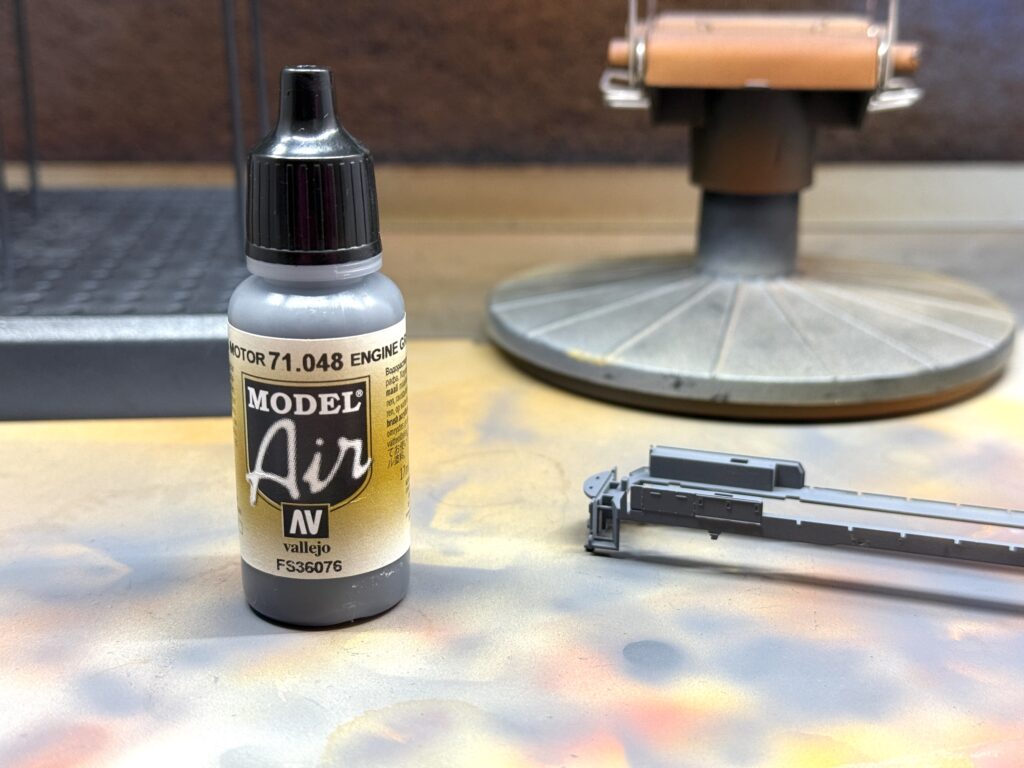
After masking the nose and tail, I painted the rest of the locomotive in SP Lark Dark Gray. I had a couple of Polly Scale SP Lark Dark Gray bottles from mid 2000s, but neither aged well. So I opted for Vallejo Engine Gray (71.048), which is a very close match.
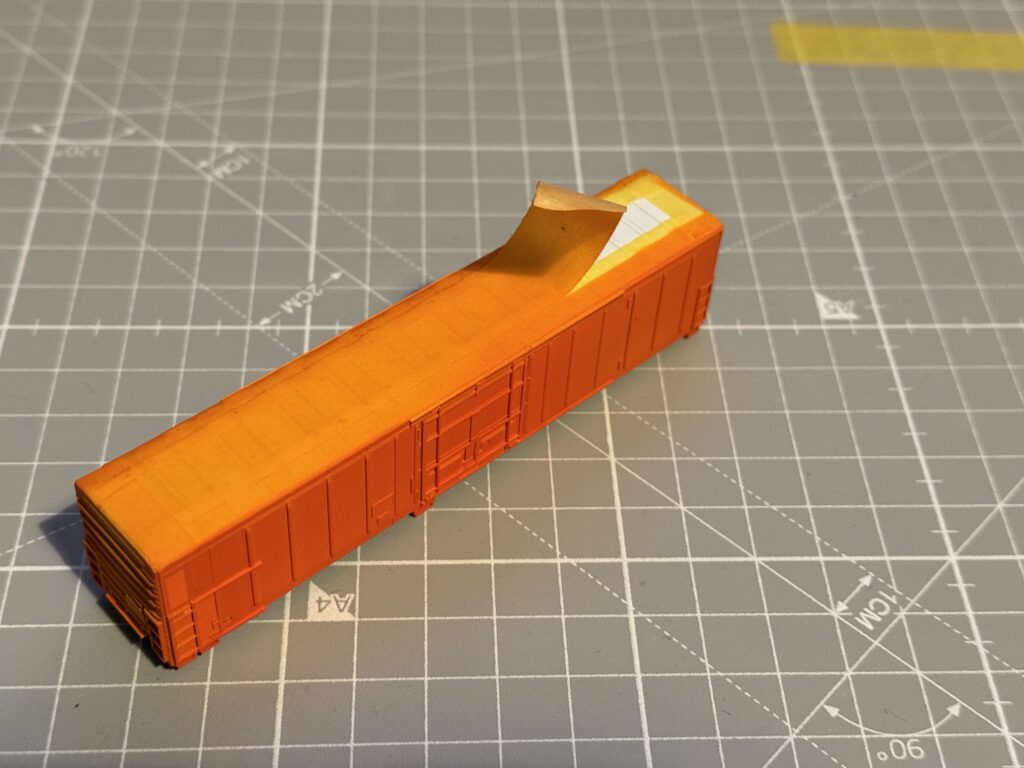
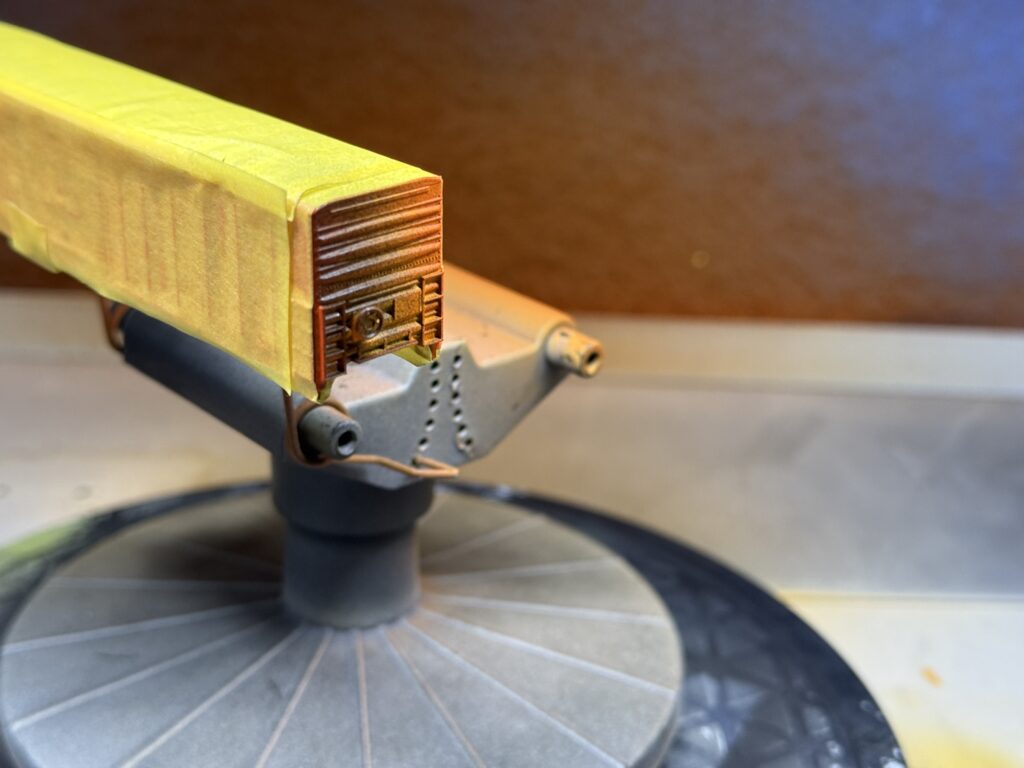
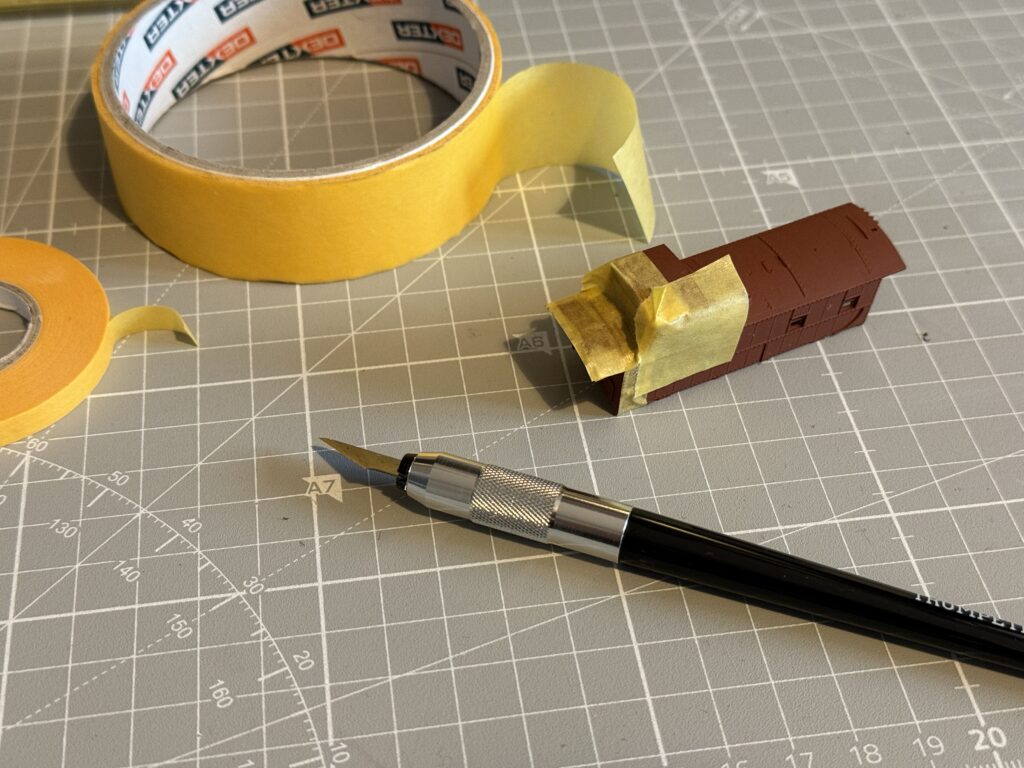
I also painted the disassembled trucks and fuel tanks. After letting everything dry, I removed the Tamiya 6mm masking tape.
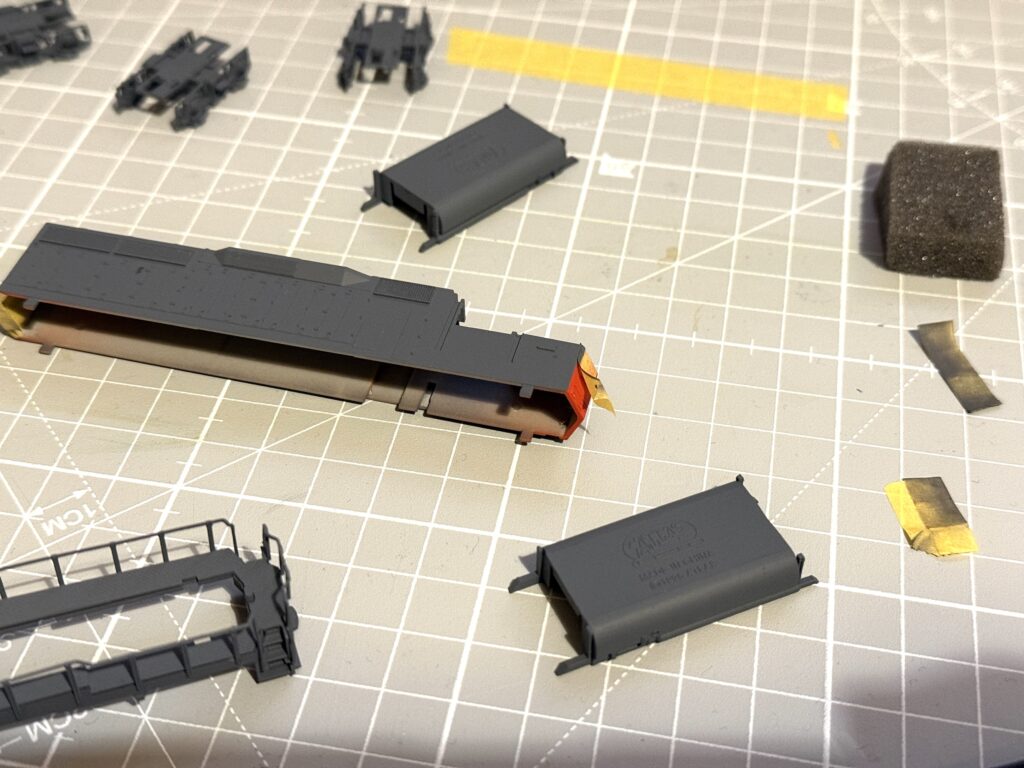
And here are the two GP40-2 locomotives, ready for a coat of clear gloss varnish before applying the lettering.
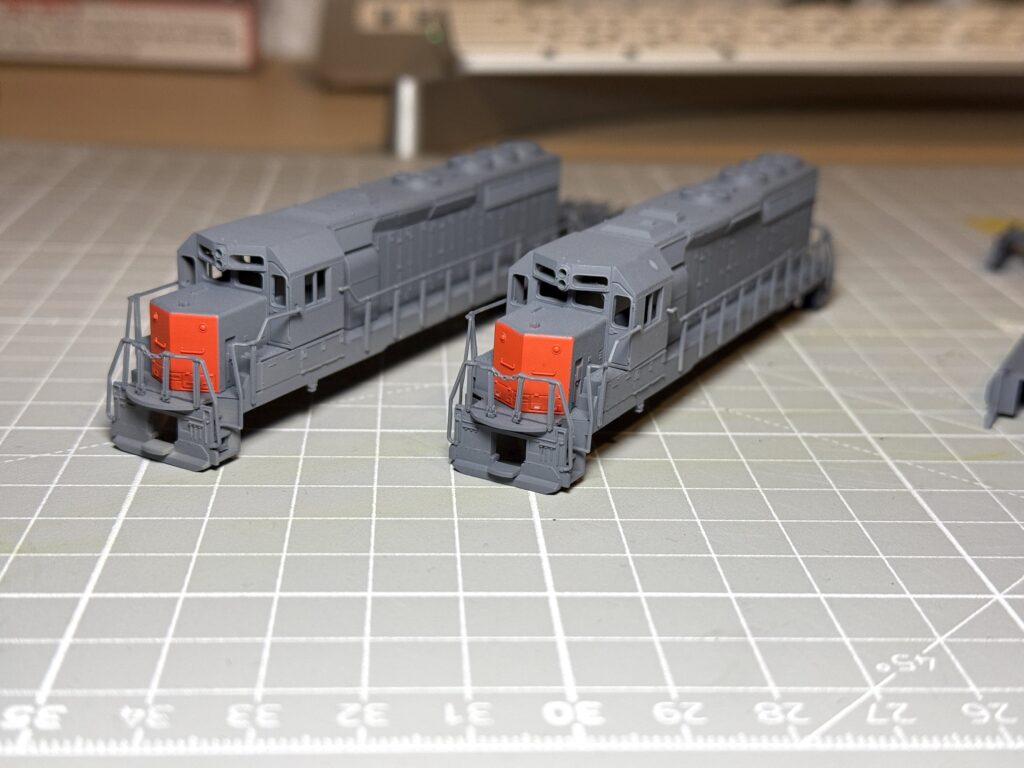
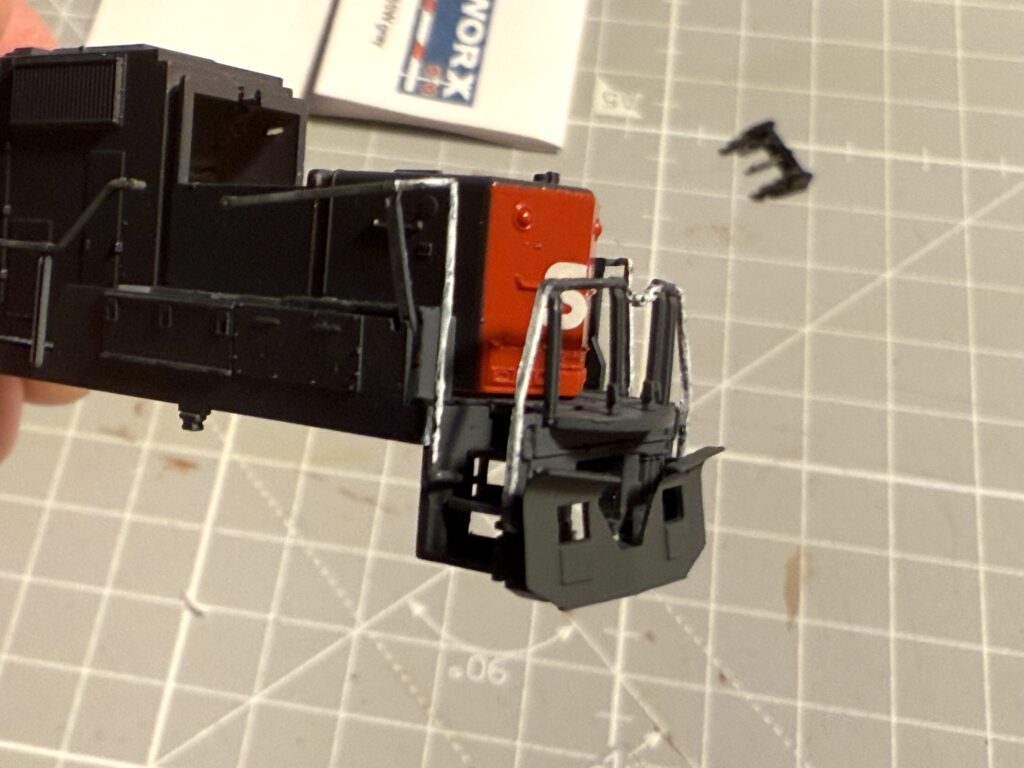
Detailing
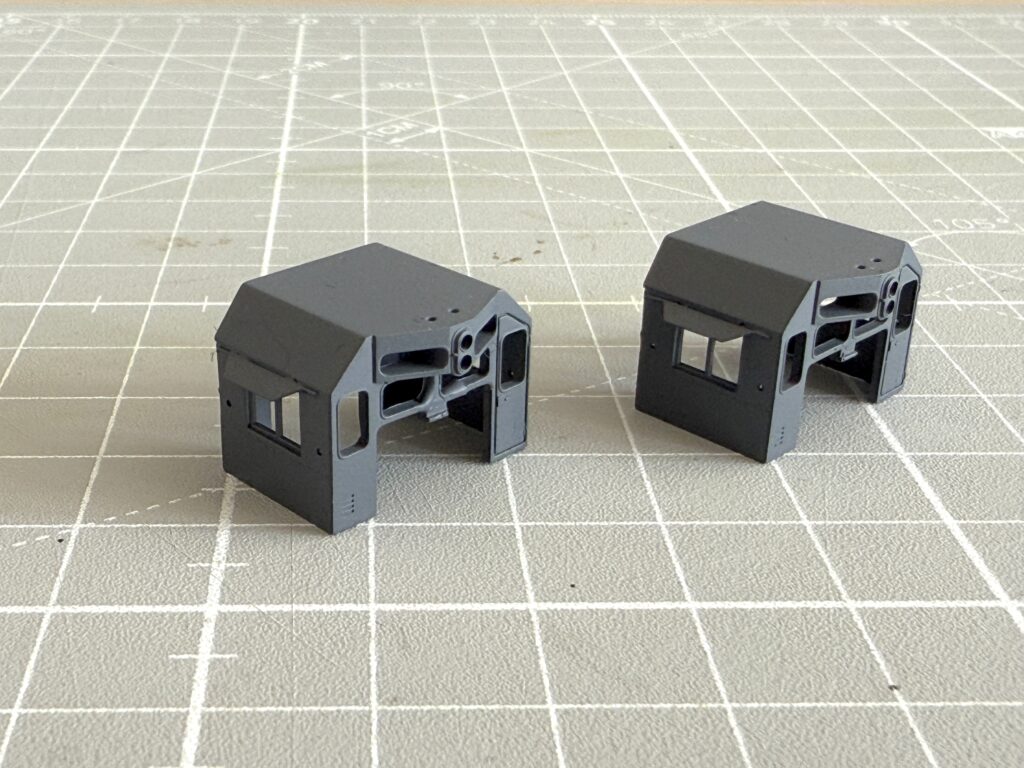
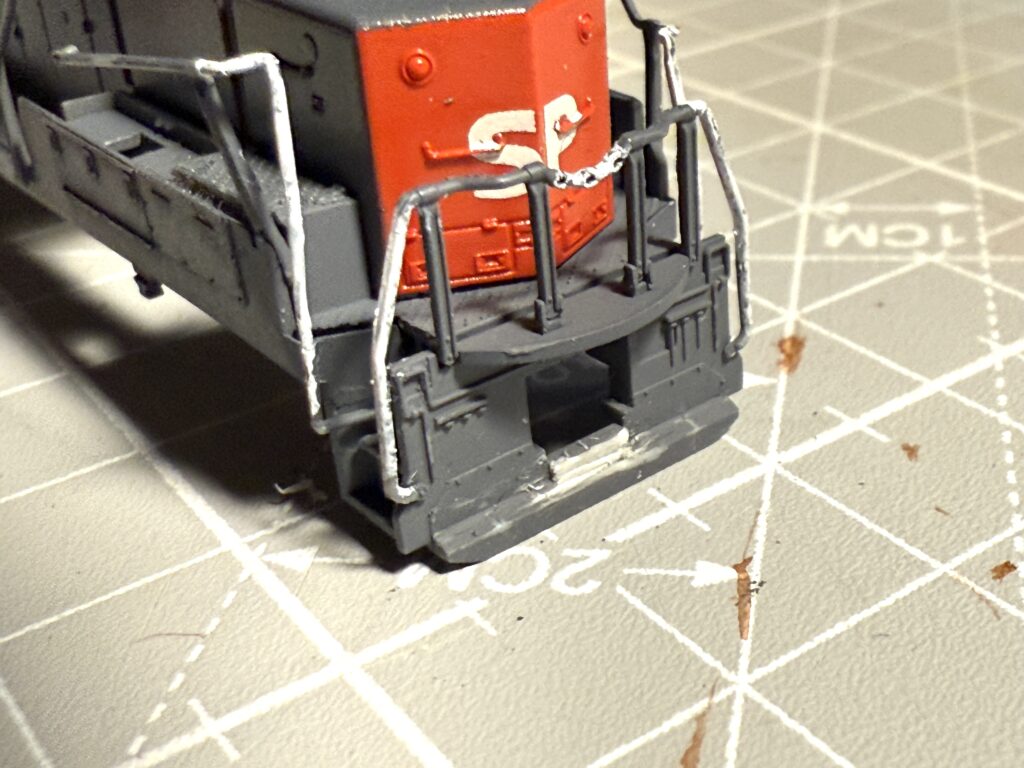
Before finalizing the painting, I added a few details to the locomotives: cab sunshades and snow plows. I purchased them from Trainworx.
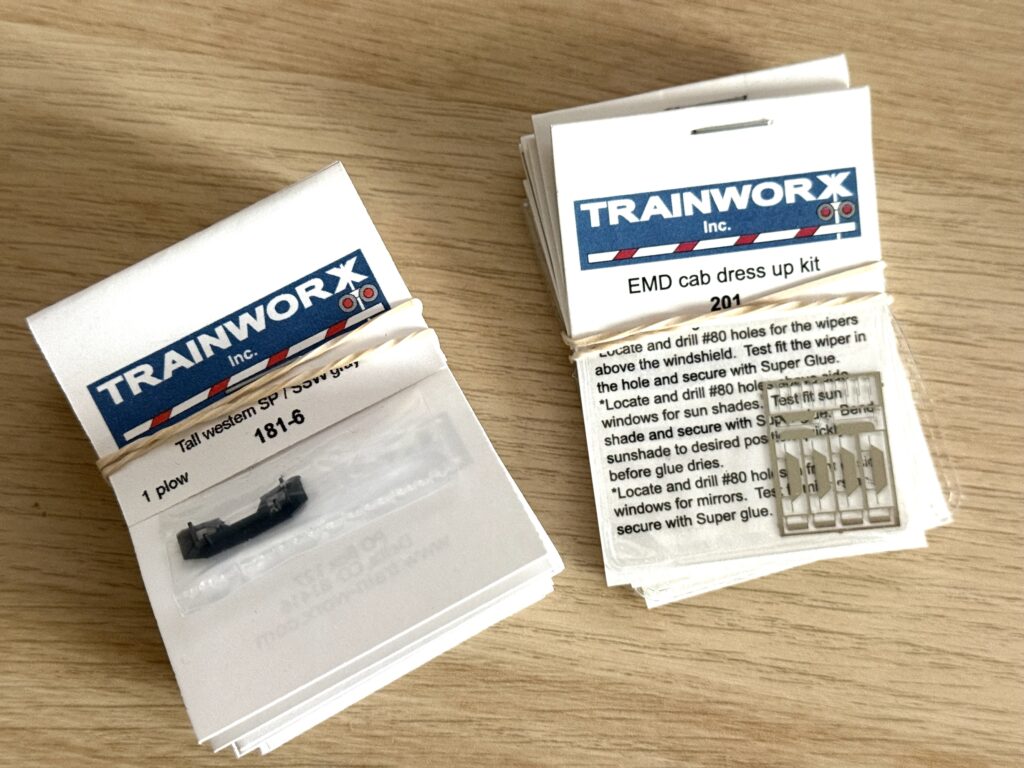
I used a hand drill with micro drill bits to carefully make holes in the cab for the sunshades.
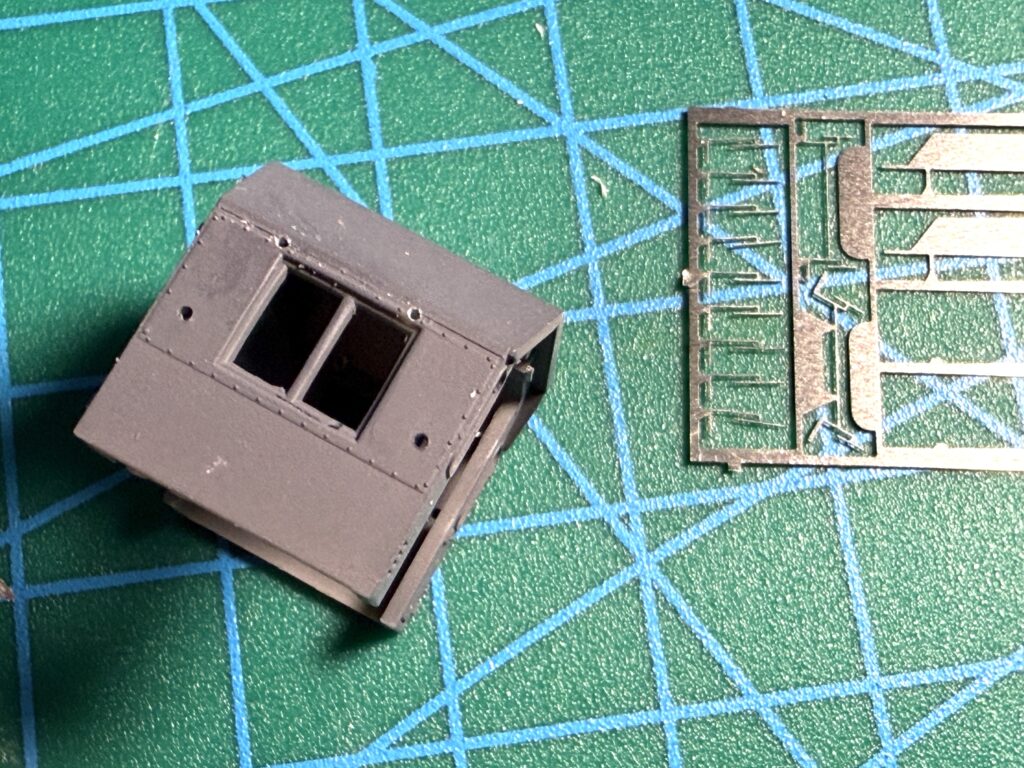
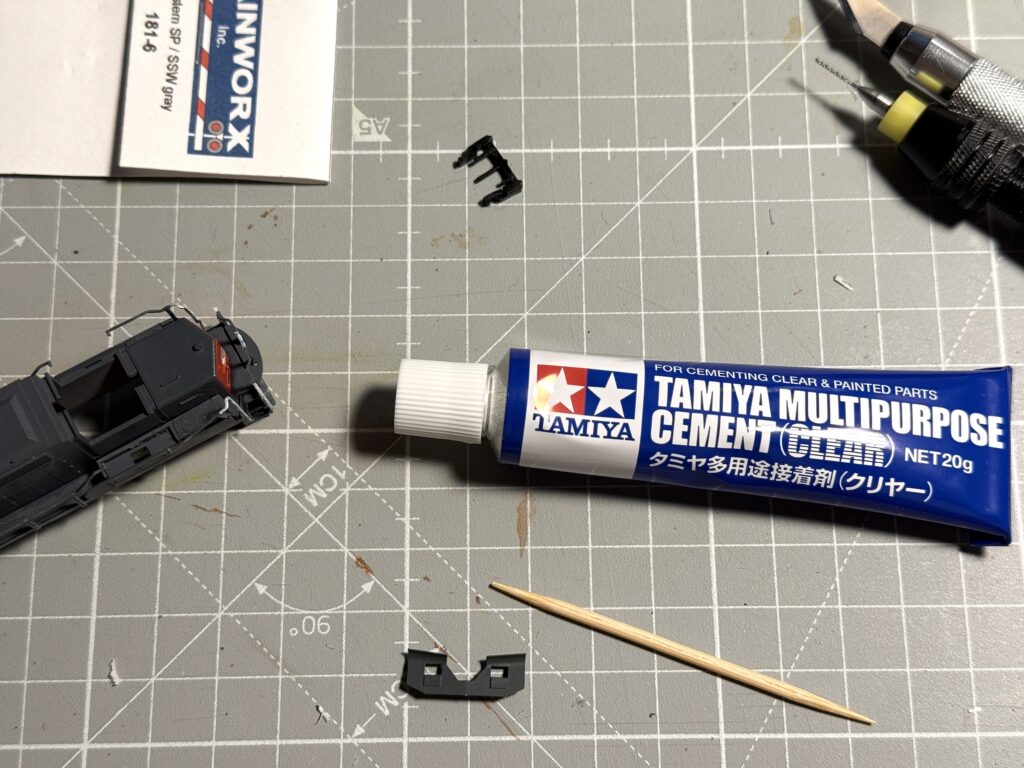
Then I installed the sunshades, securing them with a tiny drop of Tamiya Multipurpose Cement (Clear) glue.

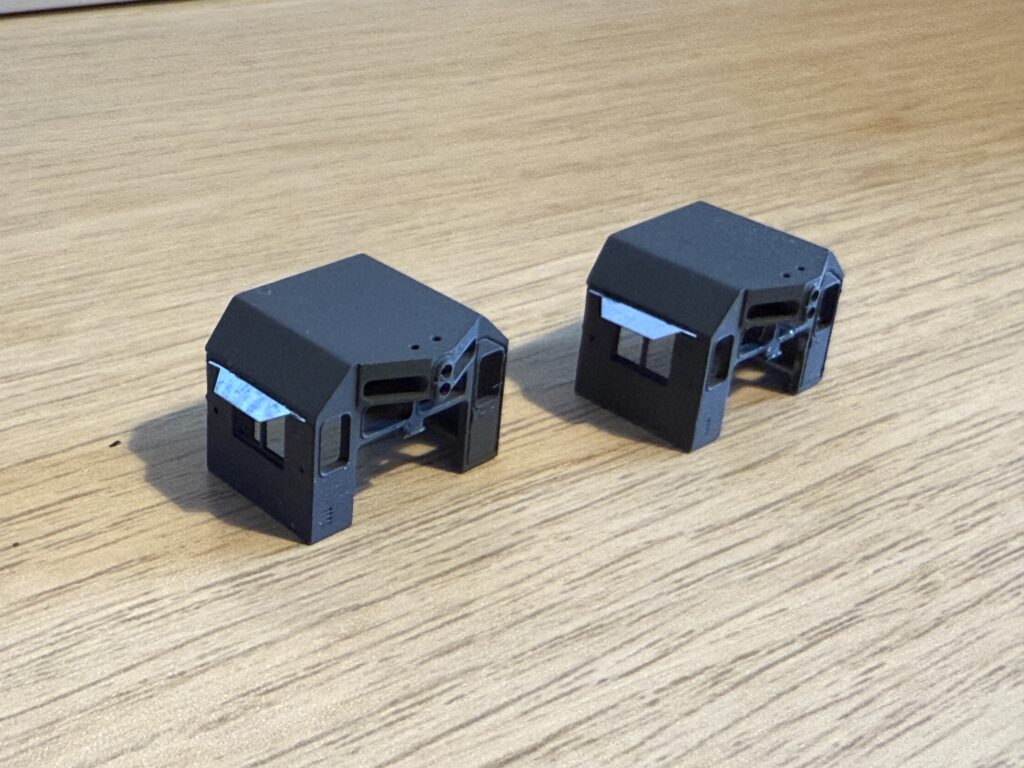
After the glue has dried, I painted the sunshades with the same Vallejo Engine Gray color.
I then added a Trainworx snow plow. Using a sharp hobby knife, I trimmed a small piece of plastic from the locomotive’s front to fit the plow.
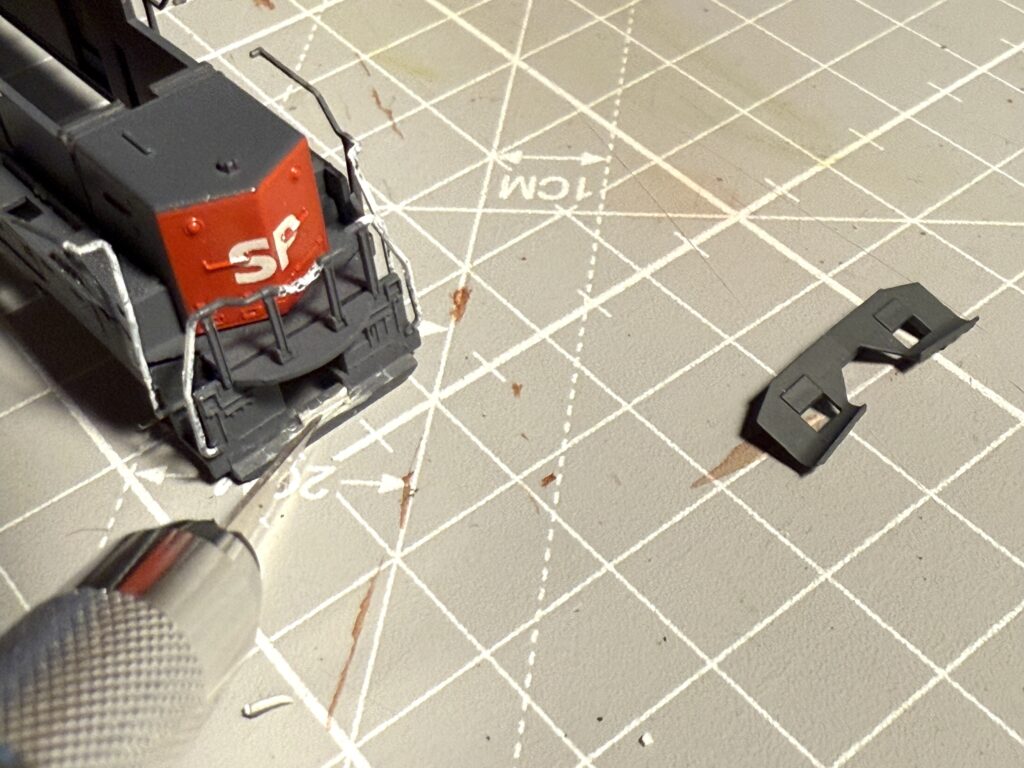
Then, using a hand drill and a fine drill bit, I drilled two small holes.
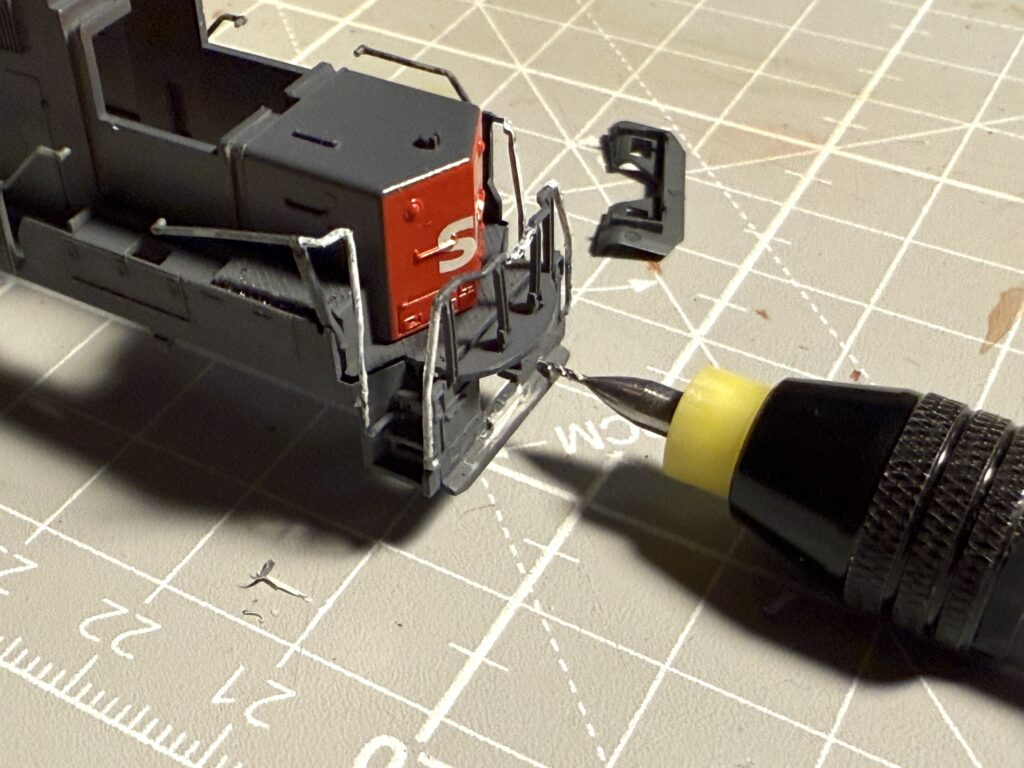
I used Tamiya Multipurpose Cement (Clear) glue to secure the snow plow in place.
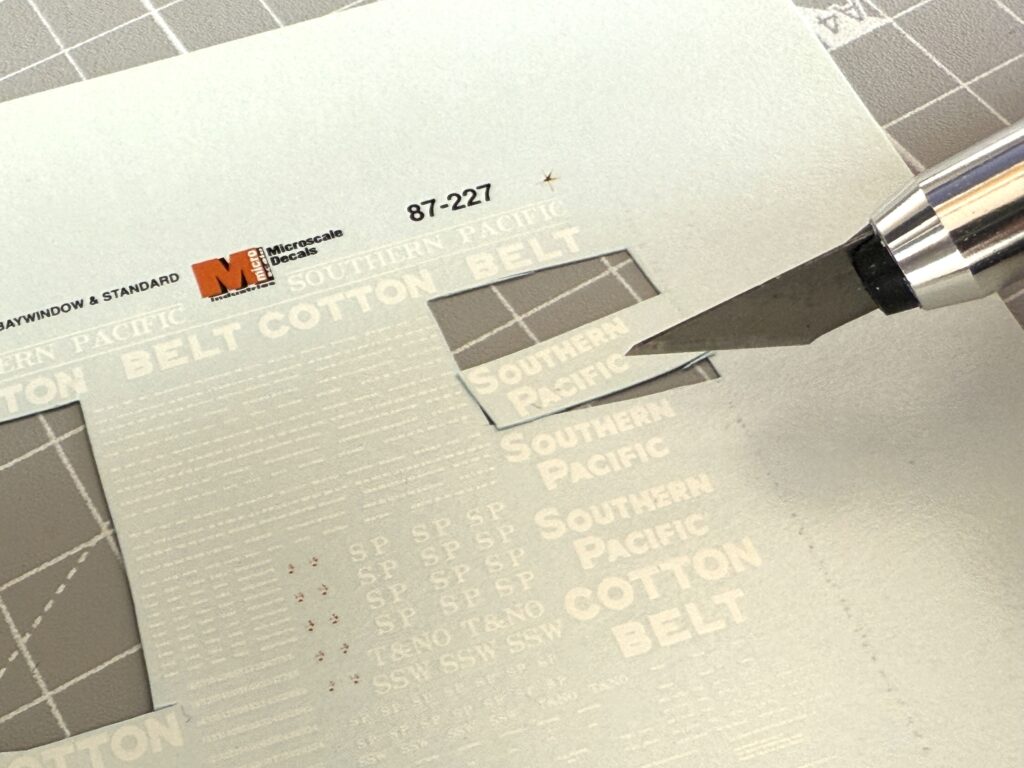
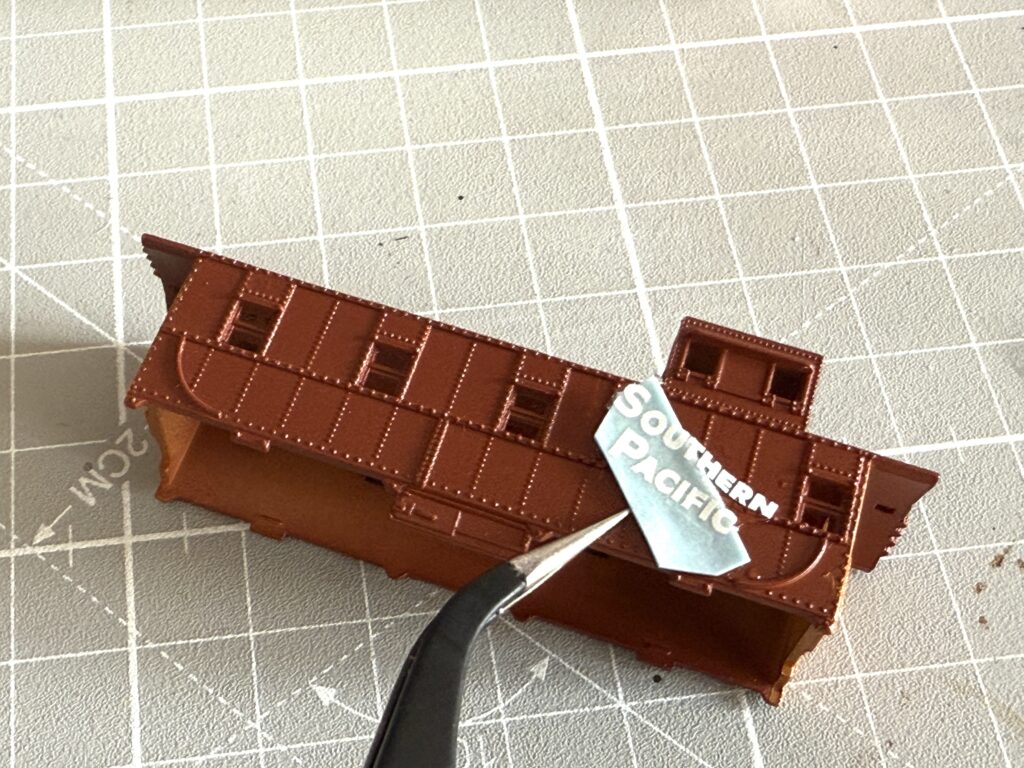
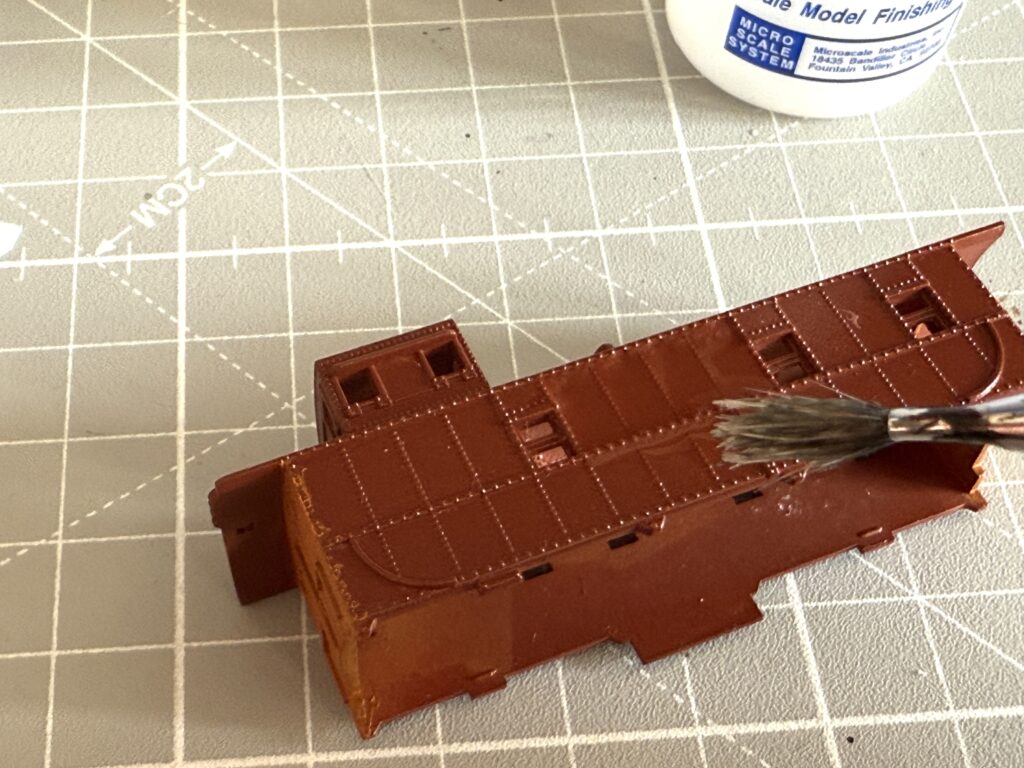
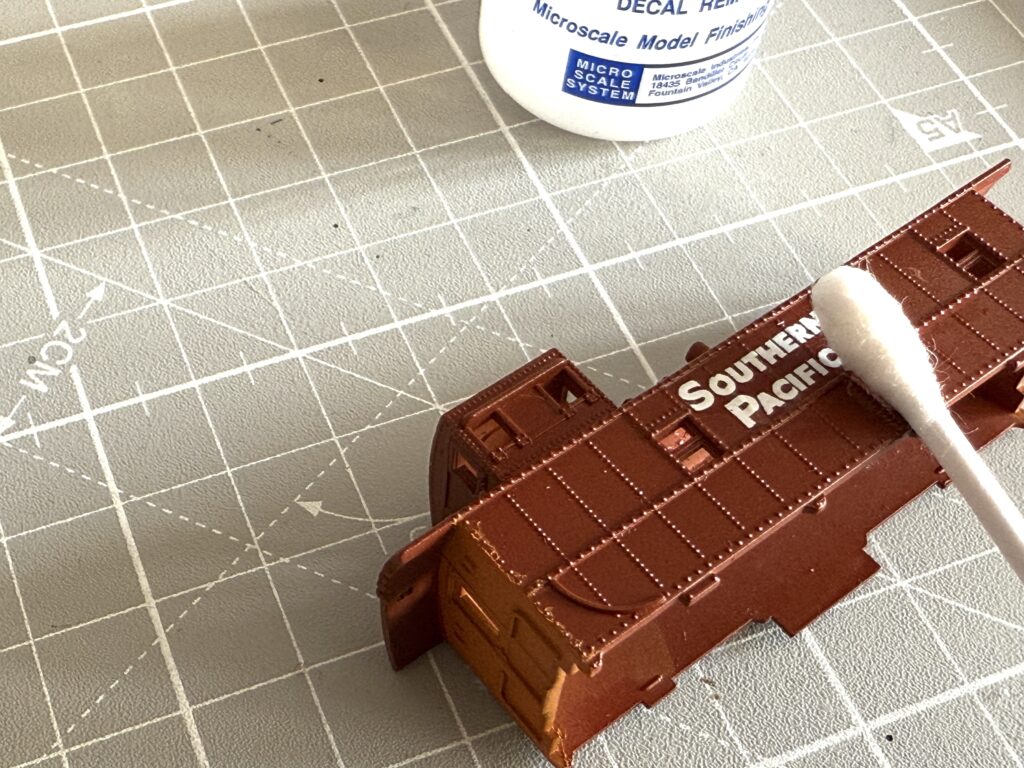
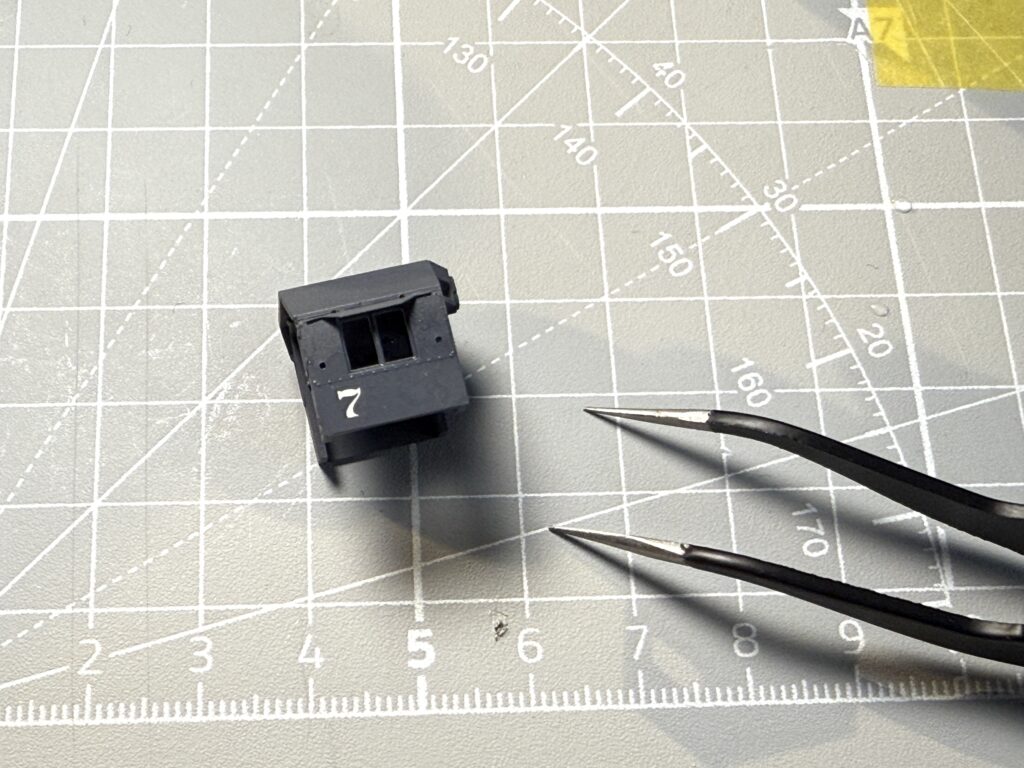
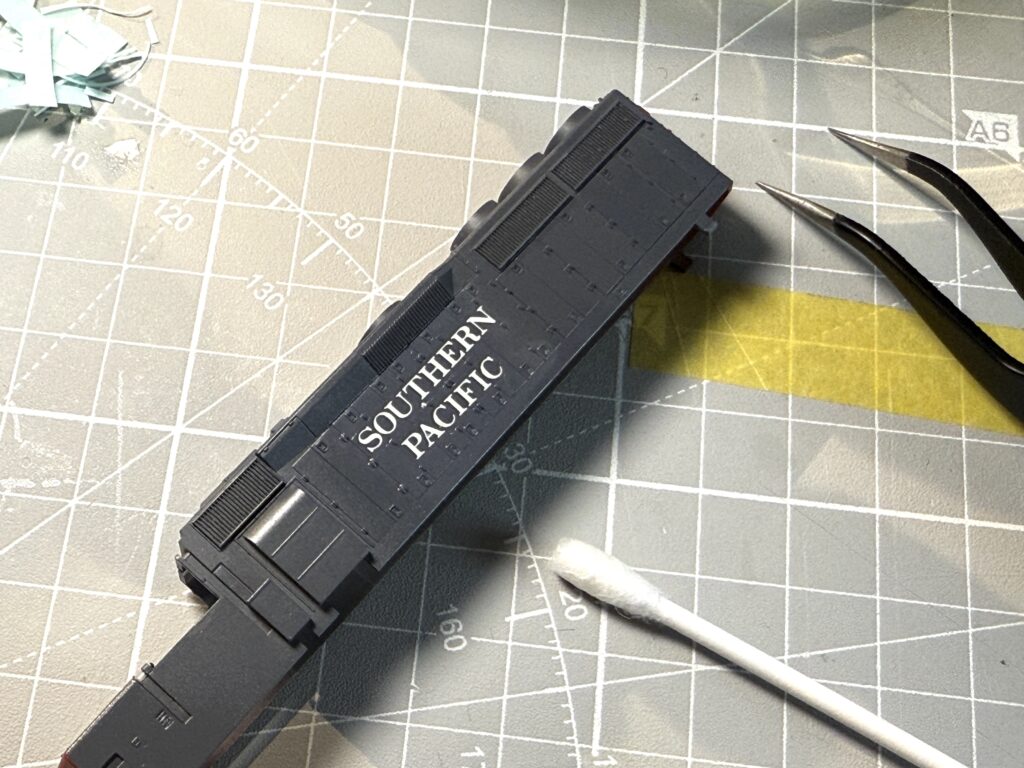
Lettering
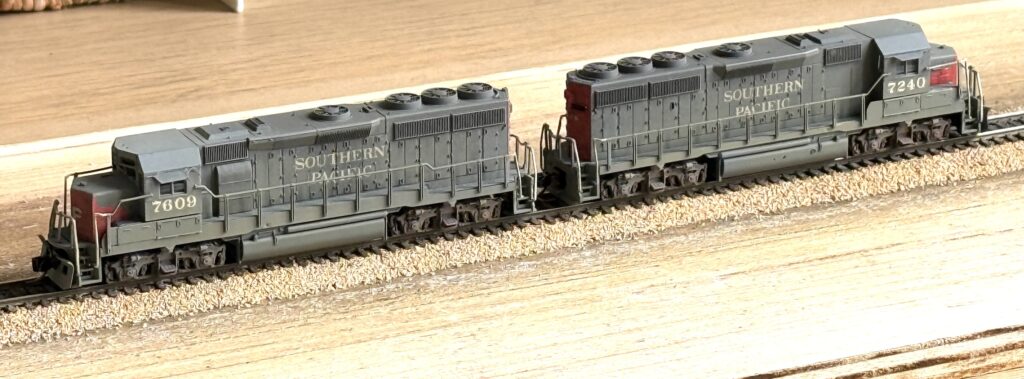
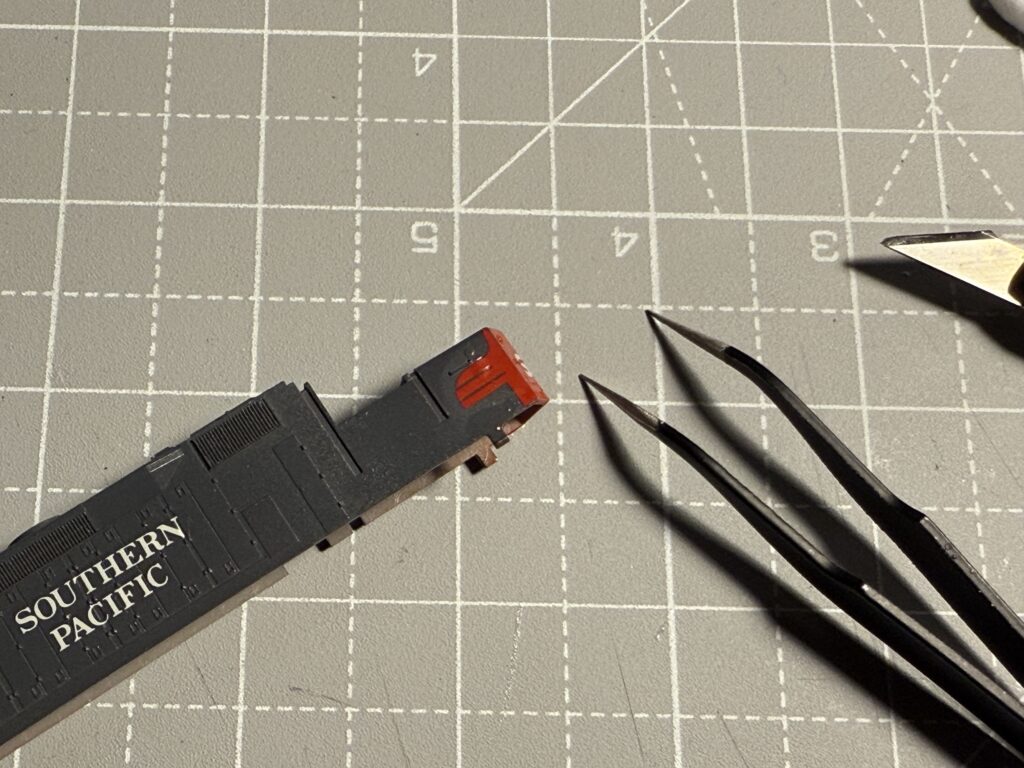
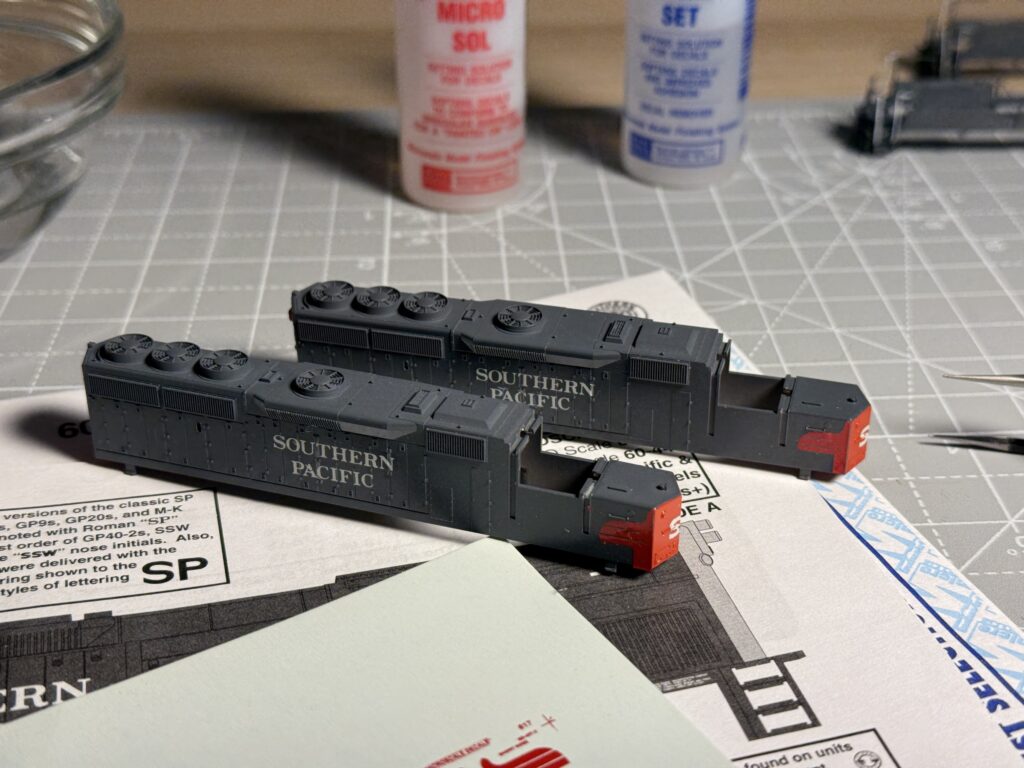
Using Microscale decals, I completed the GP40-2 lettering after repainting the locomotives. I chose to model units 7240 and 7609.
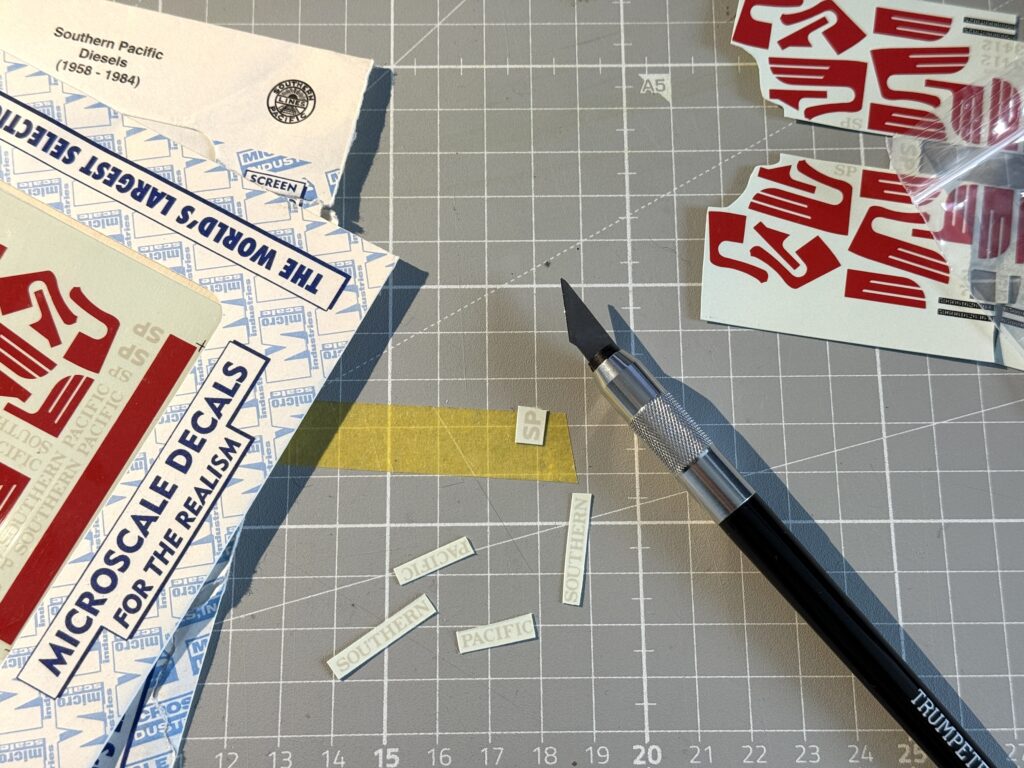

The red wings on the nose are always a bit tricky to apply, but I managed to get through it.
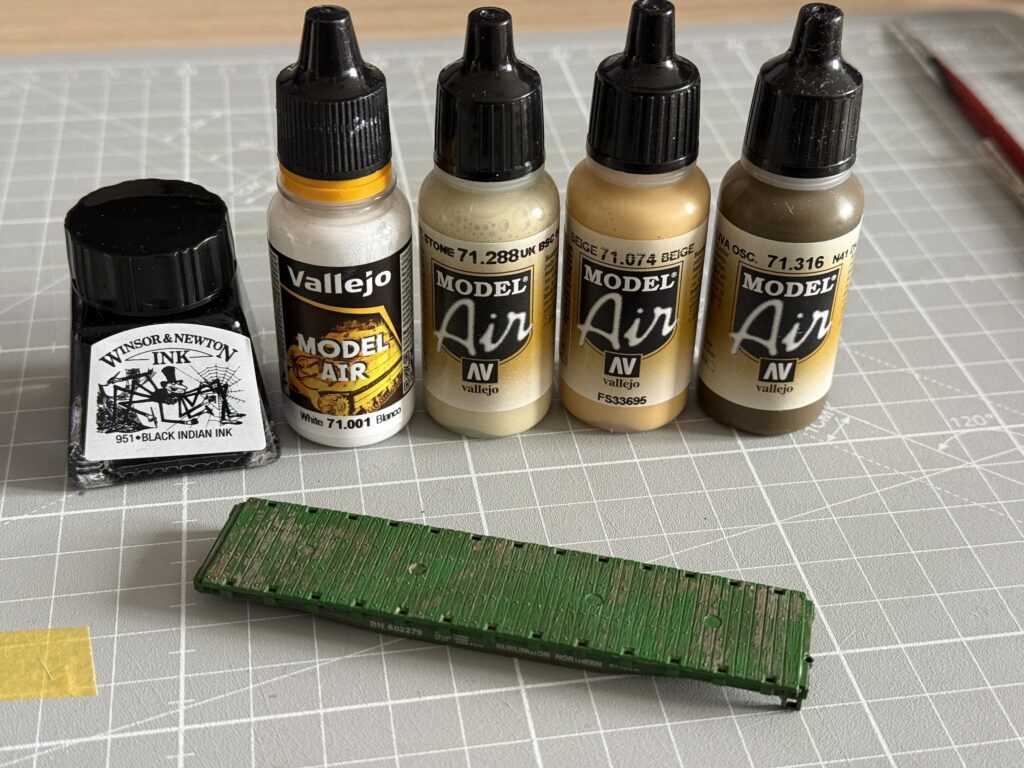
Weathering
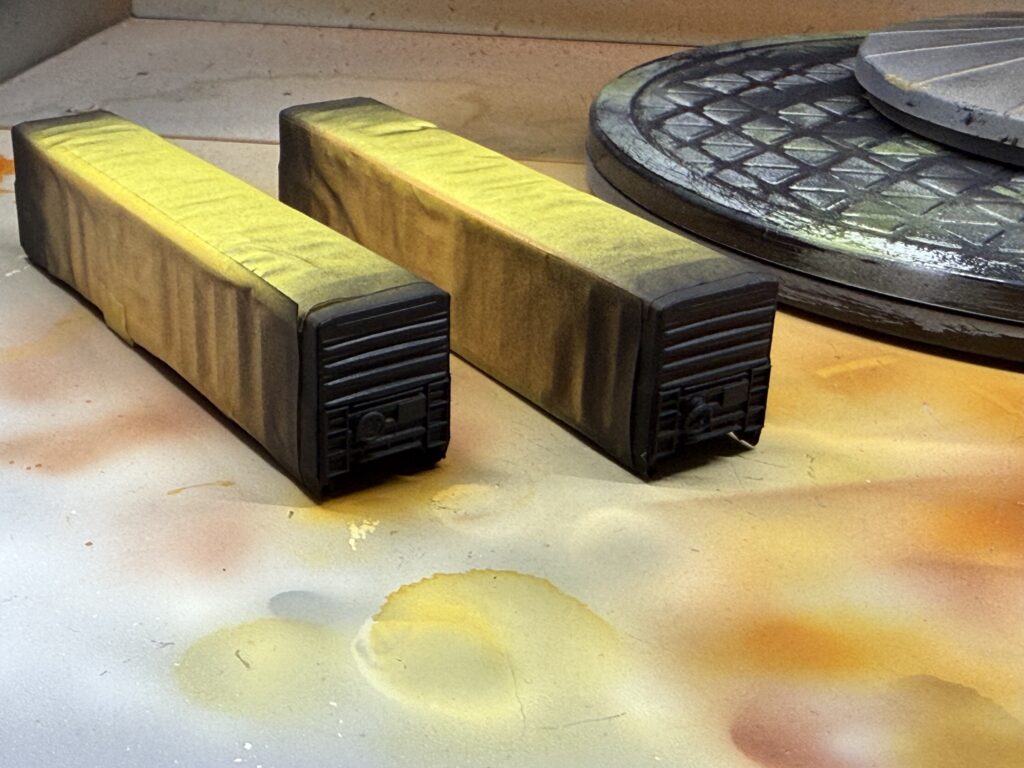
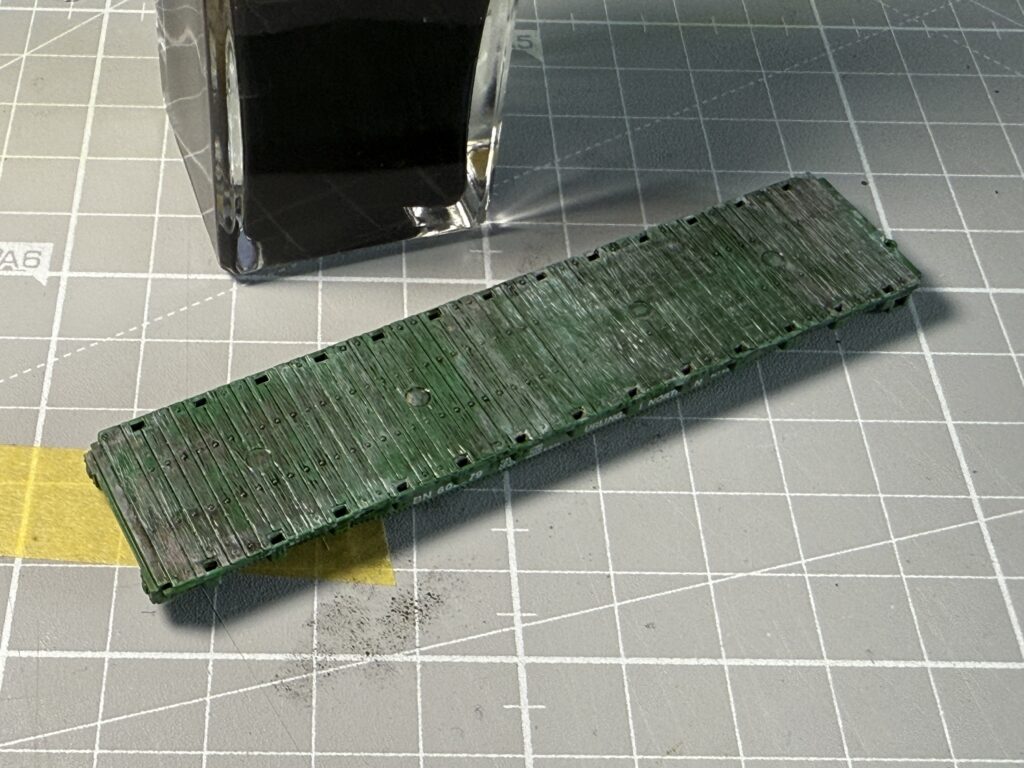
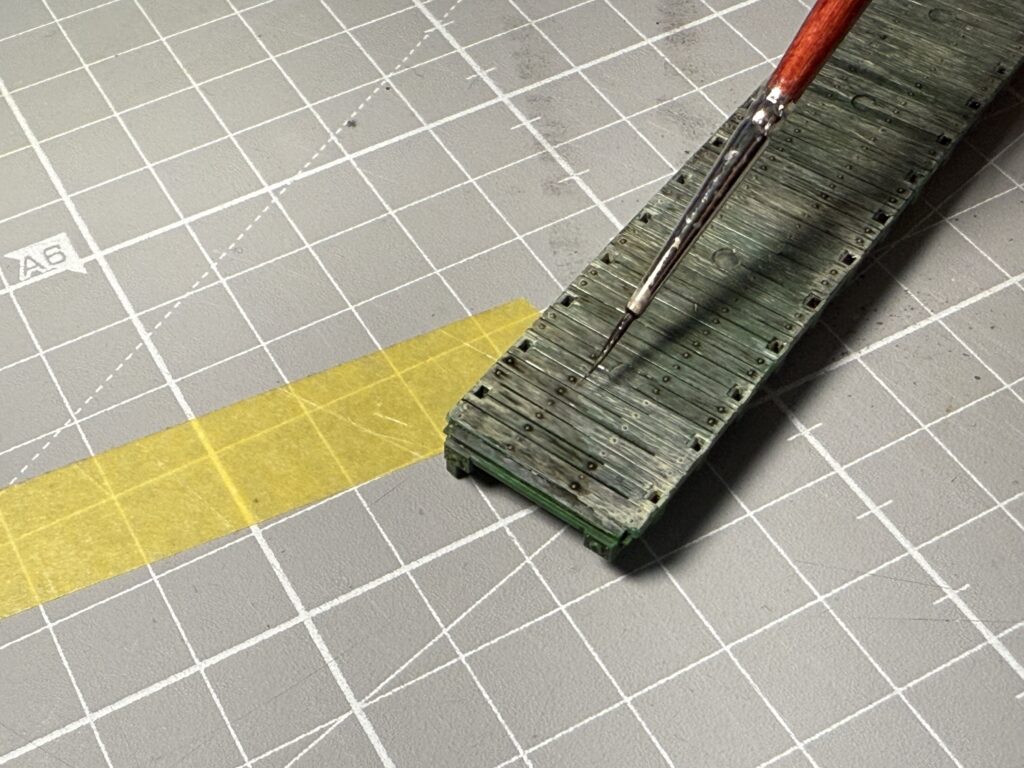
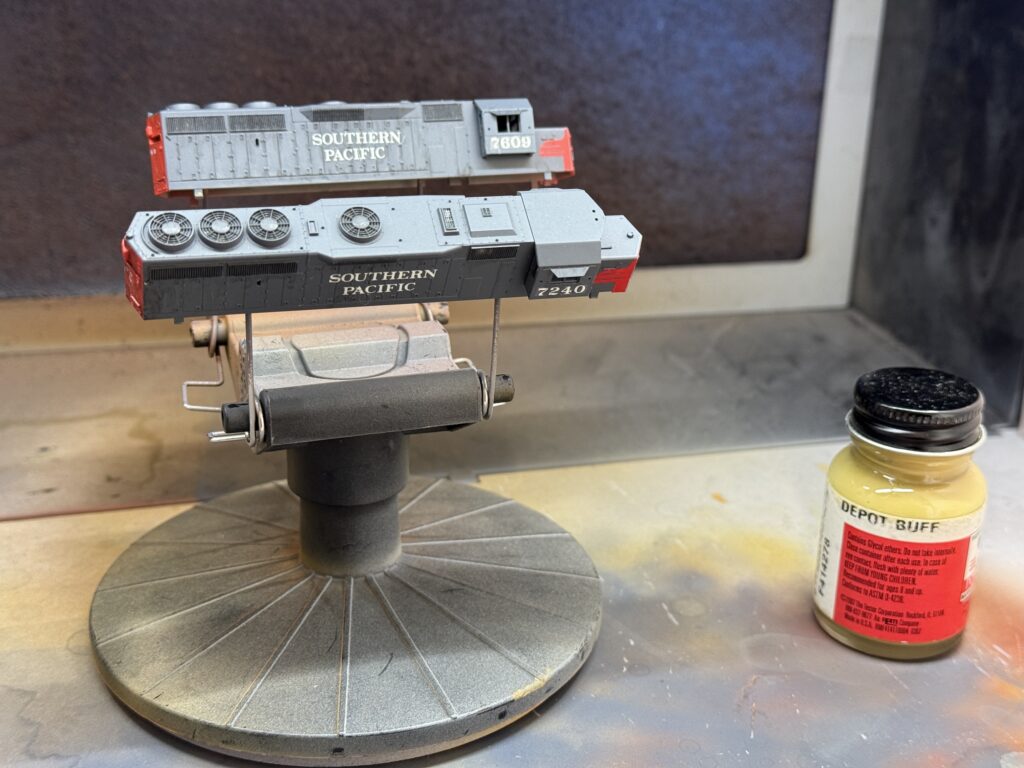
I then applied a weathering coat by washing the grills and adjacent areas with black India ink, followed by airbrushing a couple of layers of Polly Scale Depot Buff (70/30 thinner-to-paint mix).
The Depot Buff (light tan color) replicates a layer of accumulated dust.
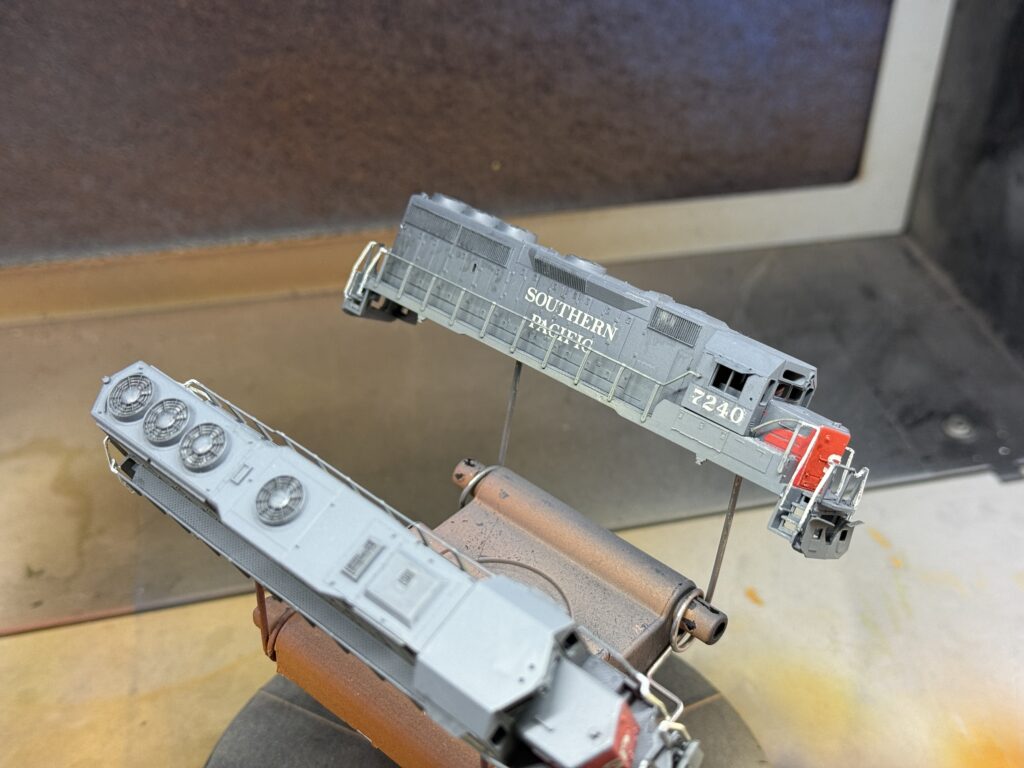
Here is the final result. Southern Pacific GP40-2 7609 and Southern Pacific GP40-2 7240, both equipped with a Zimo MX615 DCC decoder.