LED strips installation behind the valance
I started the LED strips installation by fixing the aluminum profiles on the valance ceiling, to light my N scale layout. The profiles are great for holding the LED strips in place and dissipating the heat they generate.
I initially planned to use only two LED strips – one 4000K and one 2700K – with dimmers to adjust the lighting color combination. Then, I decided to add a third blue LED strip for night operations. I’m not sure if I’ll use the blue LED strip, but I figured it would be easier to install it now rather than add it later.
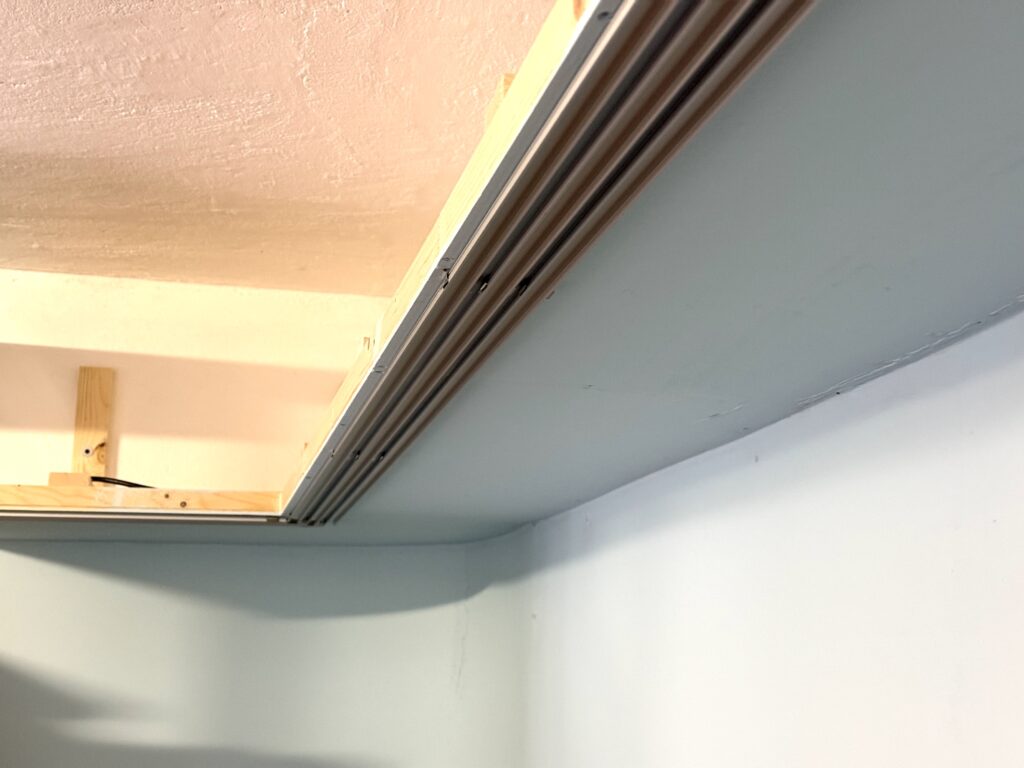
I cut the aluminum profiles to length and screwed them into the valance ceiling.
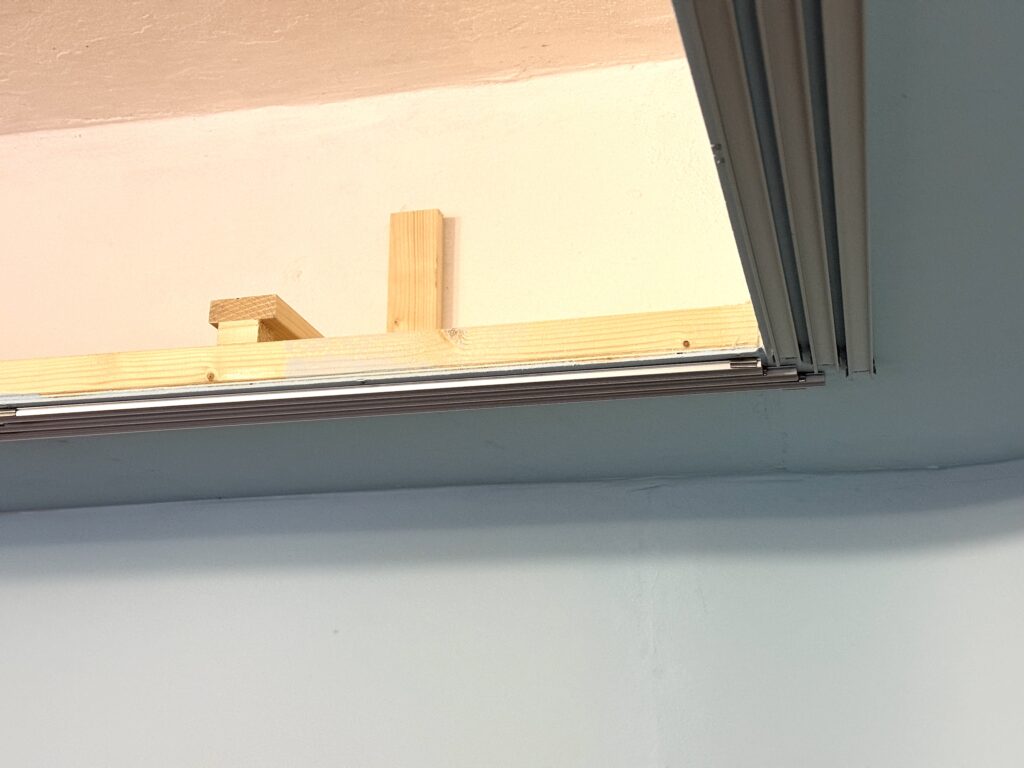
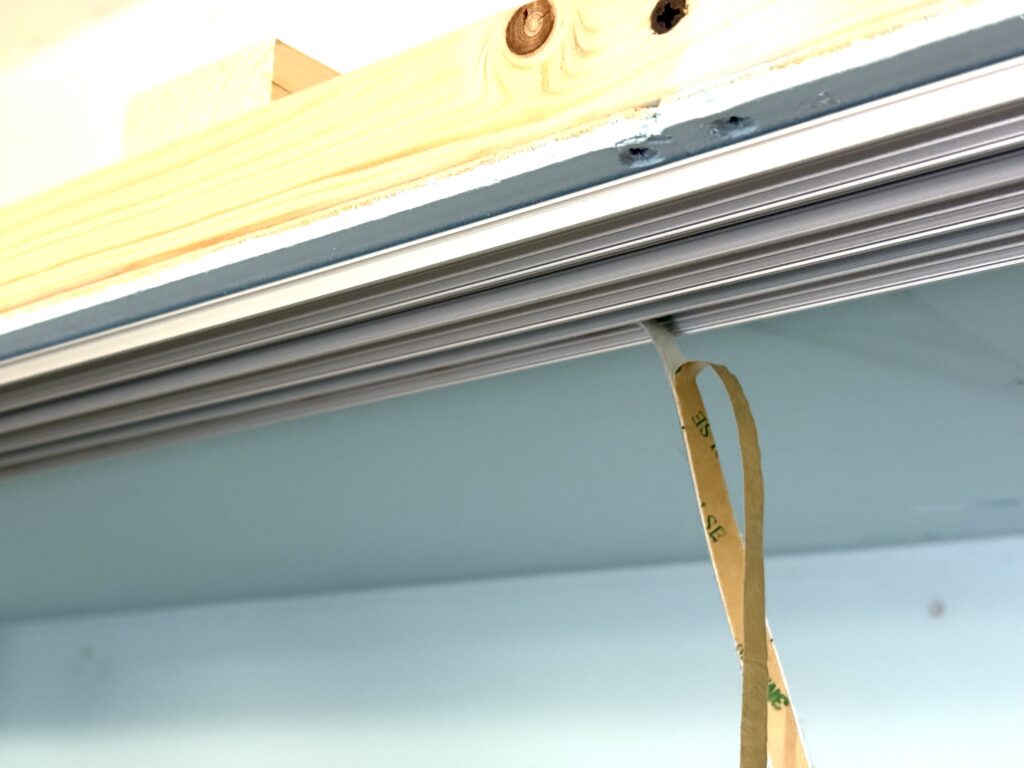
I then measured and cut the LED strips, soldering short wires to connect the corners. The LED strips are self-adhesive, so I proceeded securing them to the aluminum profiles.
Illumination
After installing the LED strips I quickly realized they mainly illuminated the area directly beneath them. Part of the backdrop was clearly left in shadow. I needed to mount the LED strips at an angle to minimize the shadow effect.
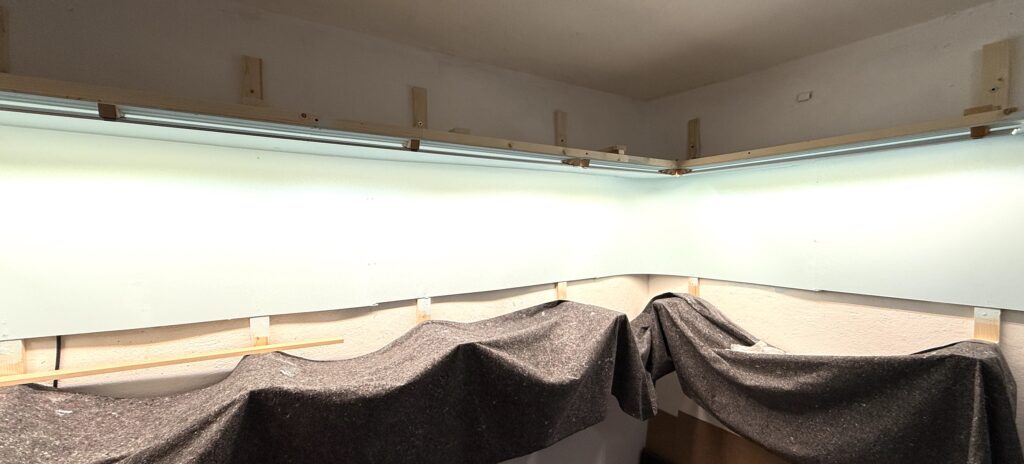
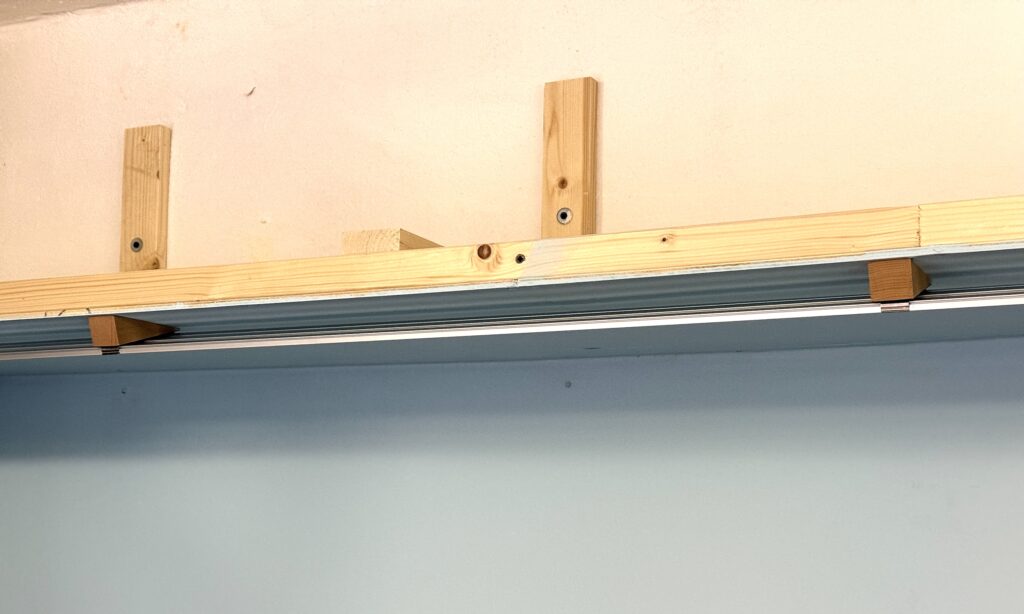
Door wedges to the rescue! I purchased some wooden door wedges and I used them to mount the LED profile holders at an angle.
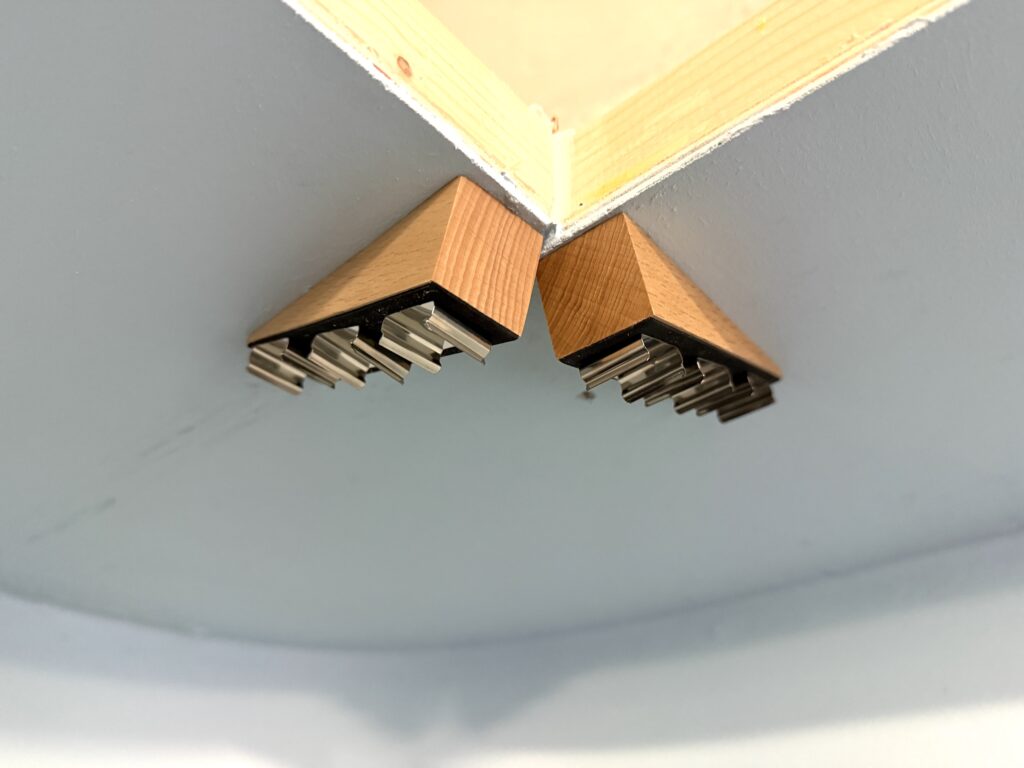
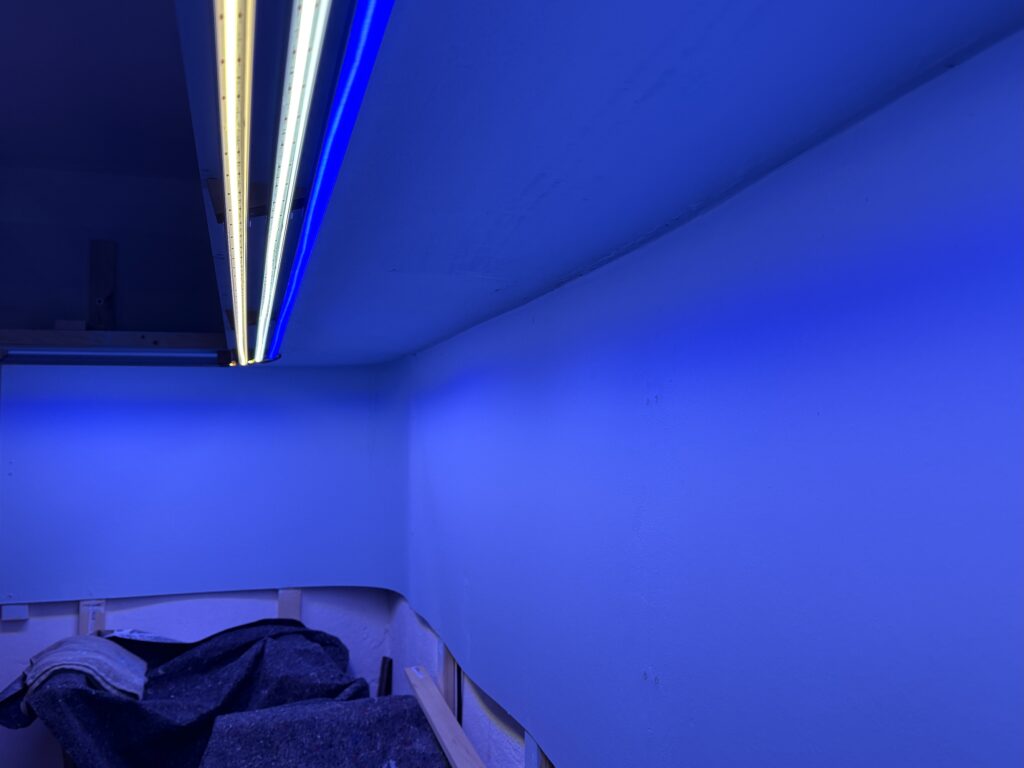
The LEDs installed at an angle provide better illumination for the entire area. Below, you can see the three strips turned on: 2700K, 4000K, and Blue light.
The next step is installing the valance using Faesite (Masonite) board. The valance helps frame the layout and masks the LED lights, preventing them from shining directly into the operators’ eyes.