Step-by-step on painting freight cars in batches with airbrush and acrylic colors
Painting freight cars: I recently purchased a few inexpensive, older Roundhouse boxcars and Athearn mechanical reefers on eBay to repaint and letter for the Southern Pacific Railroad and Southern Pacific Fruit Express.
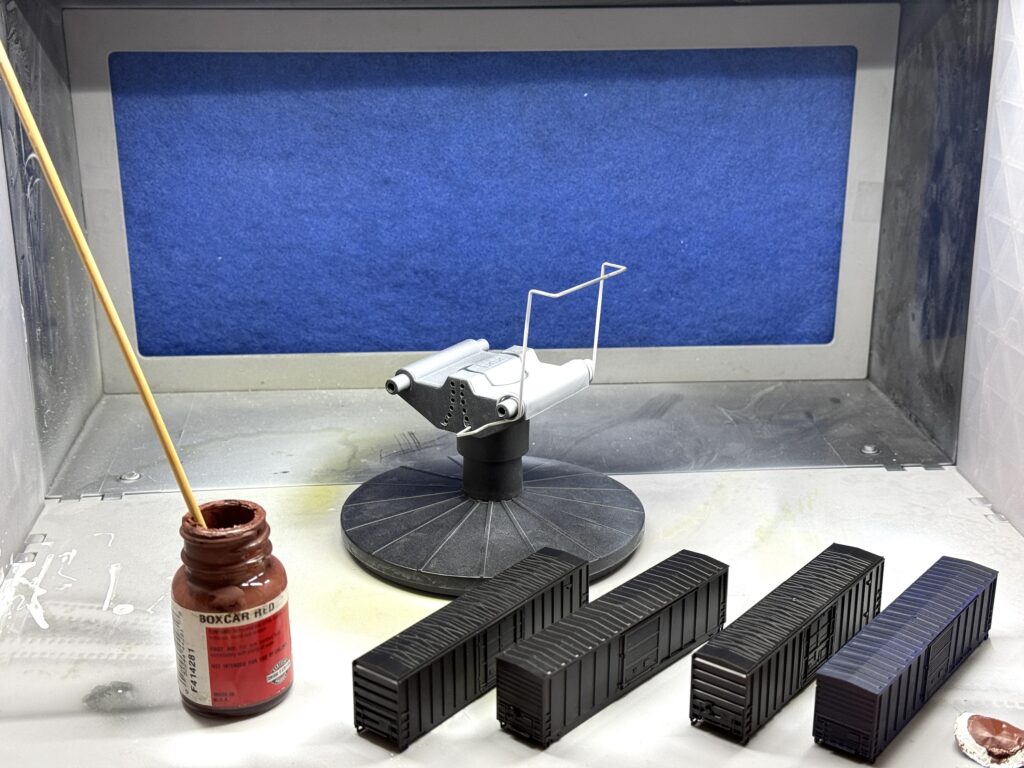
For this project, I used the discontinued Polly Scale Boxcar Red – yes, I still have a bottle from 2007 – along with Vallejo acrylic paints. Unfortunately, the Polly Scale paint had aged poorly and clogged the airbrush, regardless of how much I thinned it.
Boxcar Red color with Vallejo acrylic paint
To achieve a convincing “Boxcar Red” color, I mixed equal parts of Vallejo Camouflage Medium Brown (71.038) and Vallejo Brown RLM26 (71.105).
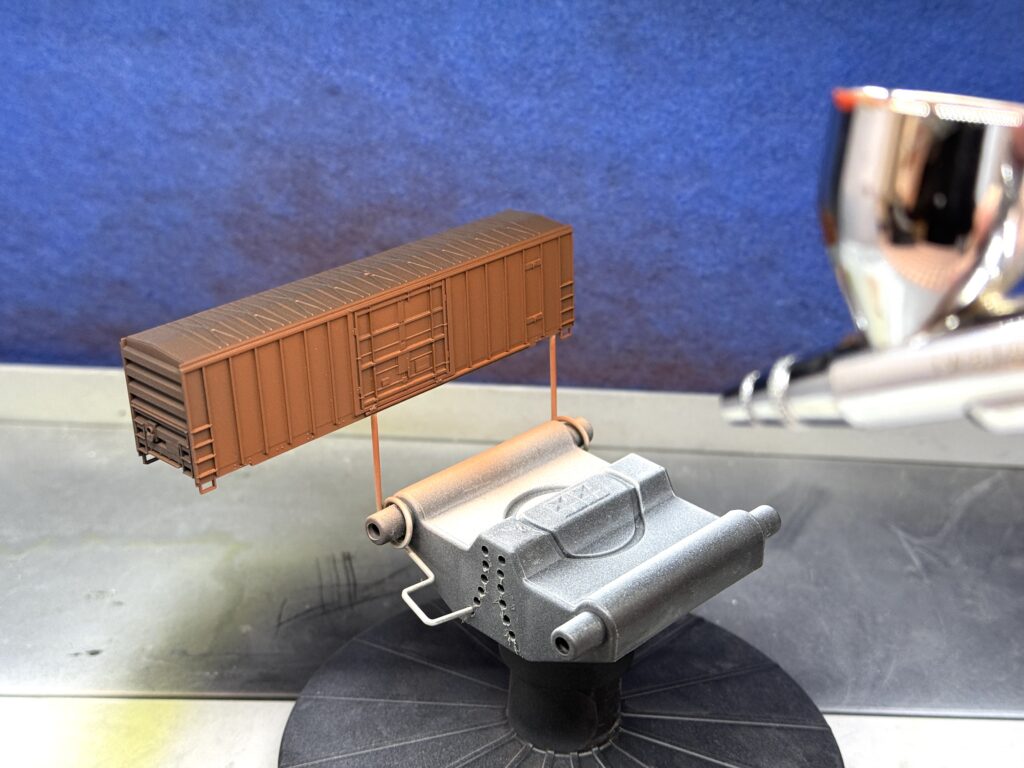
Painting freight cars in batches
I prefer to paint in batches to make the most of my effort.
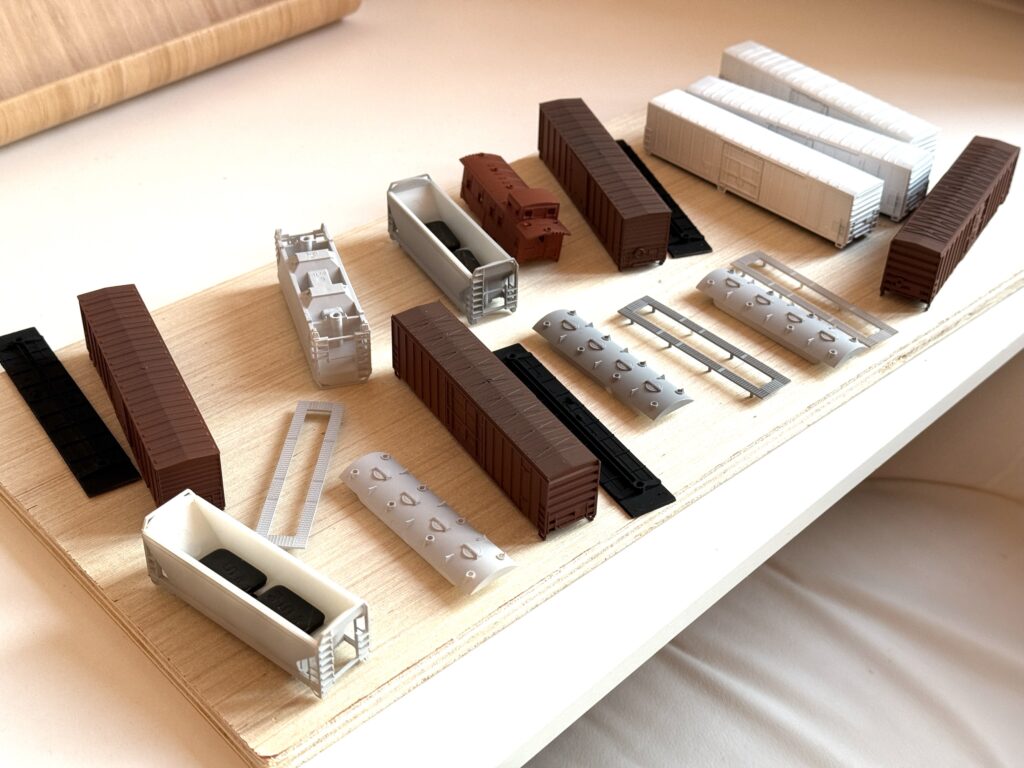
This time, I prepared three 2-bay covered hoppers, four boxcars, three 57′ mechanical reefers (to be painted and lettered for SPFE – Southern Pacific Fruit Express), and one old, inexpensive caboose.
57′ Mechanical Reefers
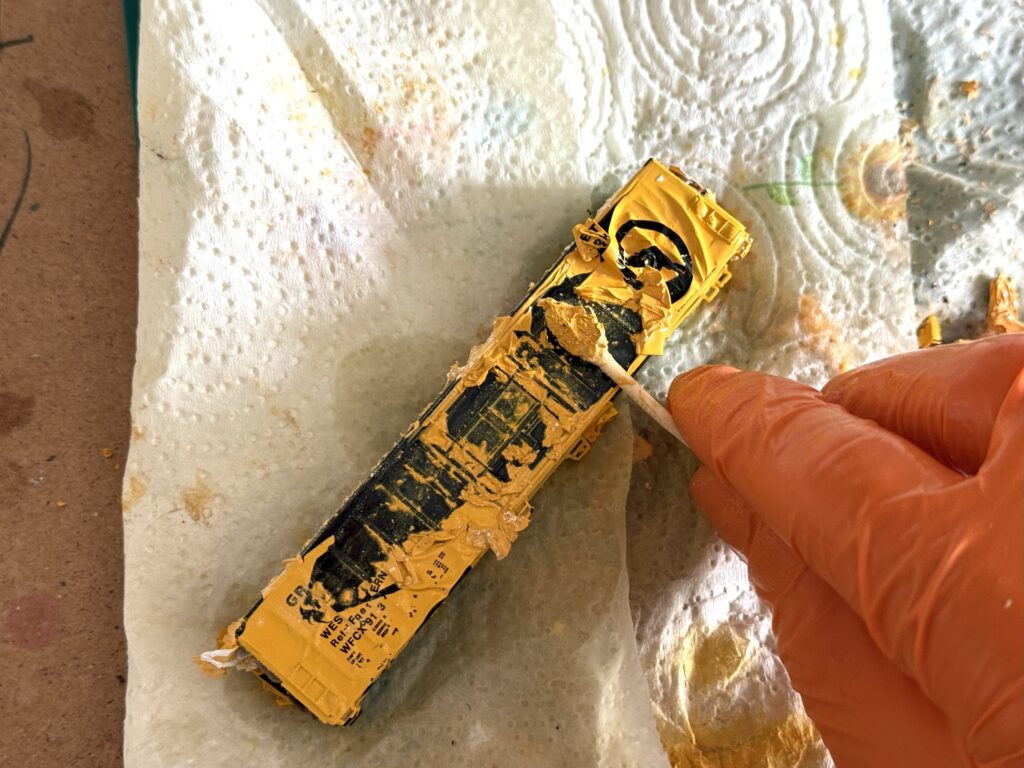
Soaking the boxcar shell in 99% isopropyl alcohol for at least three days significantly simplifies the paint removal process. As shown above, the paint practically lifts off the shell!
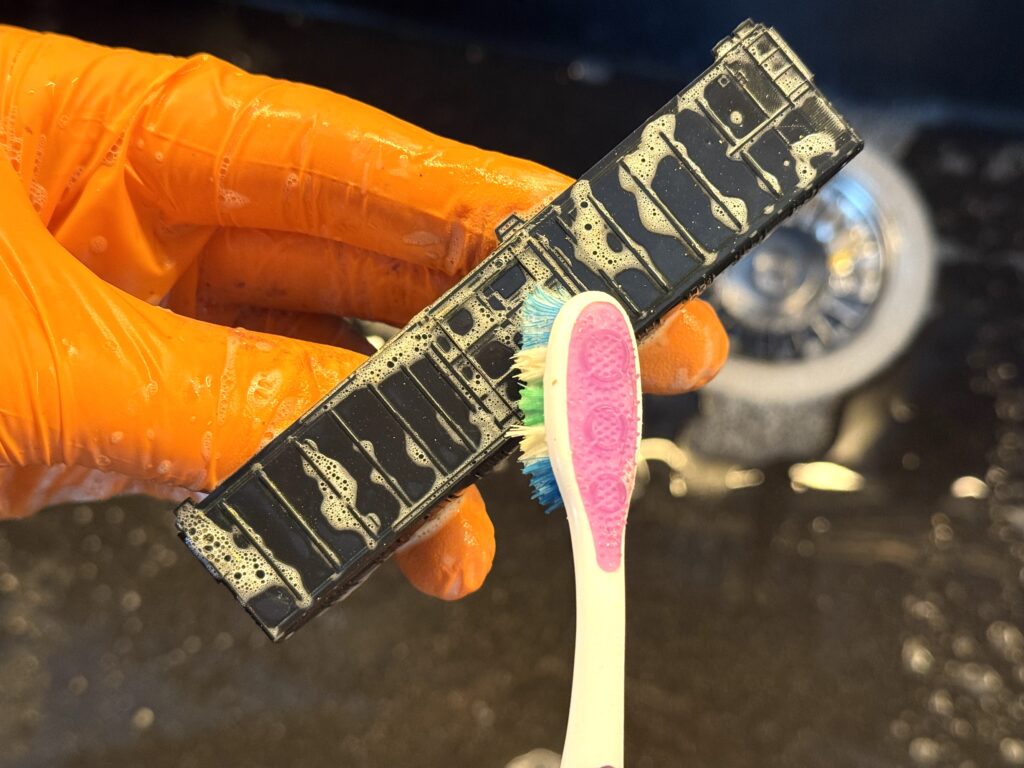
I washed the car with warm water and a drop of soap to remove fingerprints or oils, wearing plastic gloves. I used a soft toothbrush.
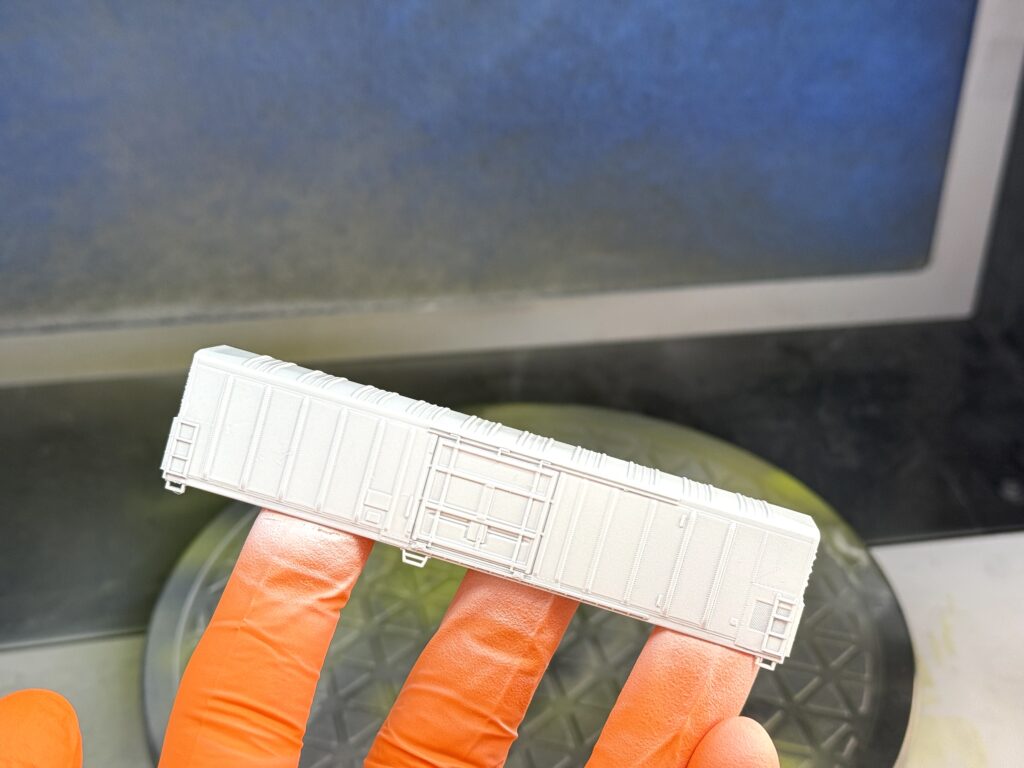
Once completely dry, I sprayed a coat of Vallejo acrylic White Primer using an airbrush. I used a few drops of the Vallejo Flow Improver.
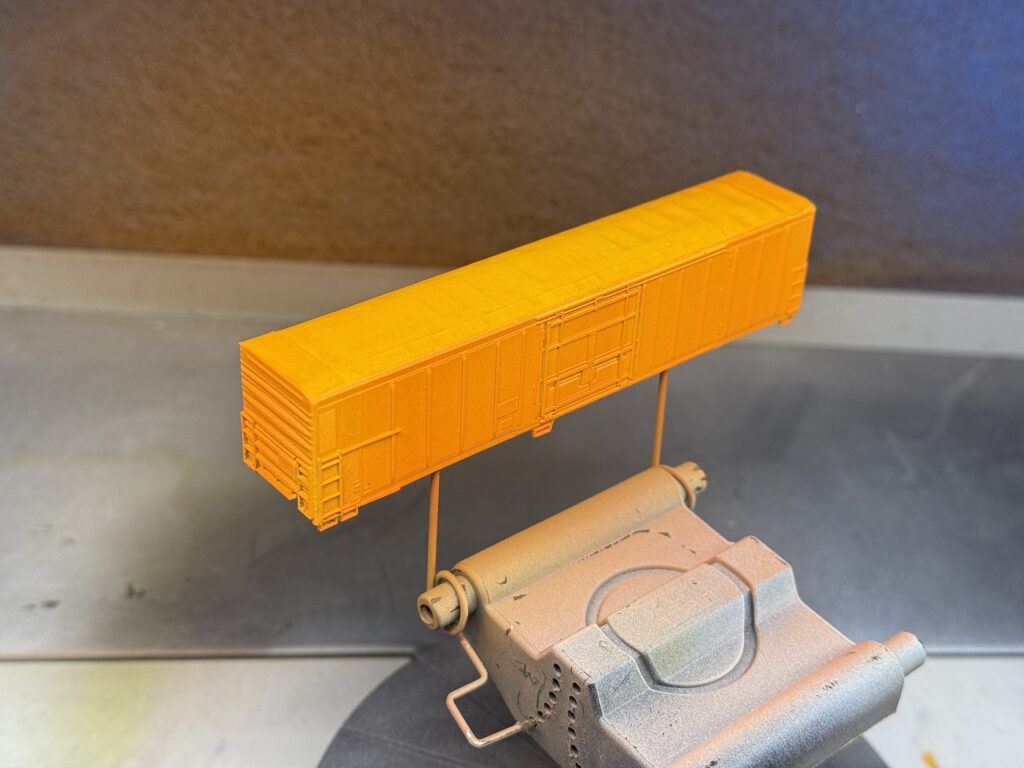
After painting the roof white (Vallejo White 71.001), I masked it off and sprayed the reefer with Vallejo Orange (71.083).
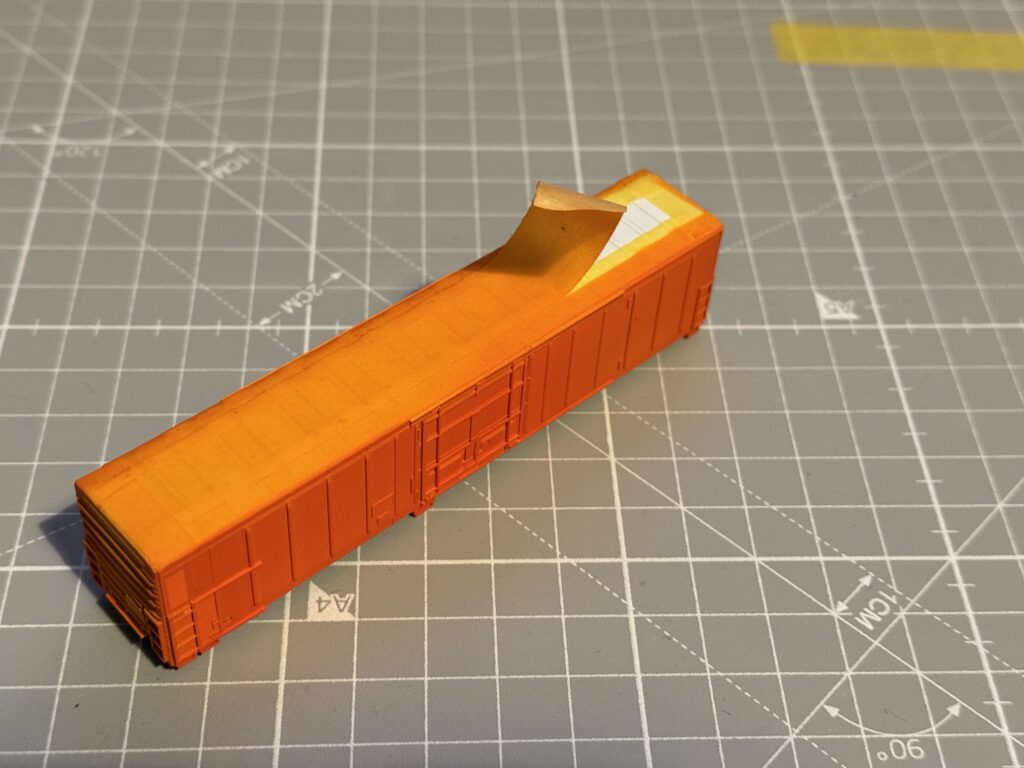
Then I carefully and slowly removed the masking tape
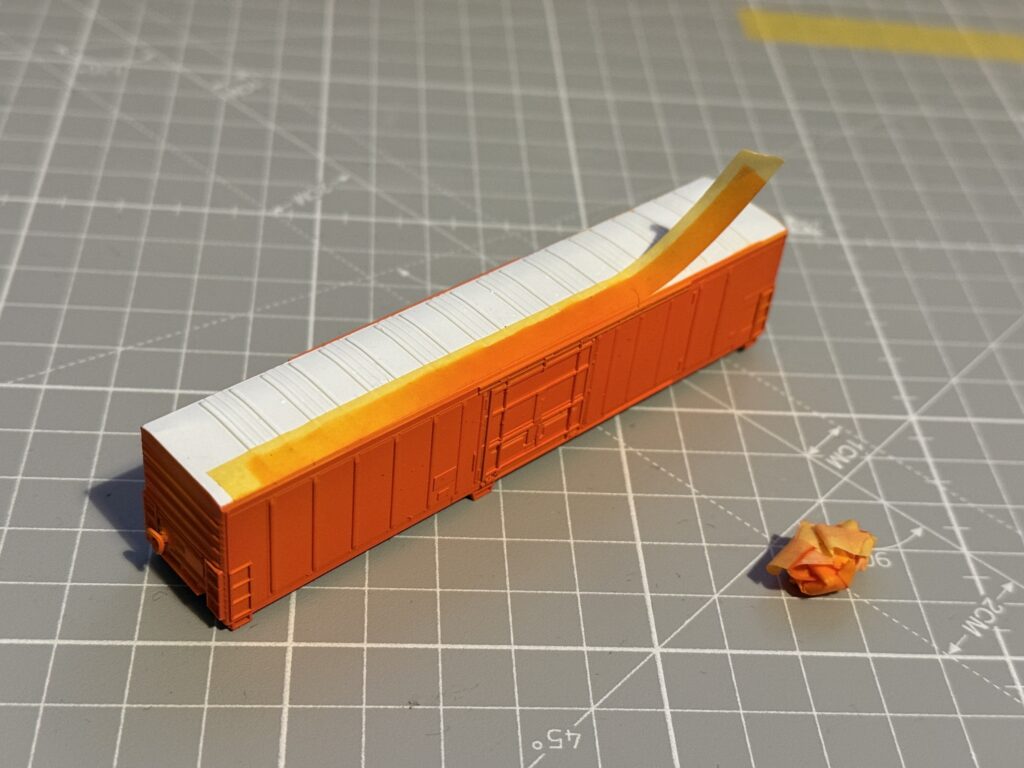
Here is future SPFE 459273.

Two other 57′ SPFE Reefers will be painted with black ends. I properly masked the car and sprayed some Tamiya XF-1 black thinned 3:2 with Vallejo Airbrush Thinner.
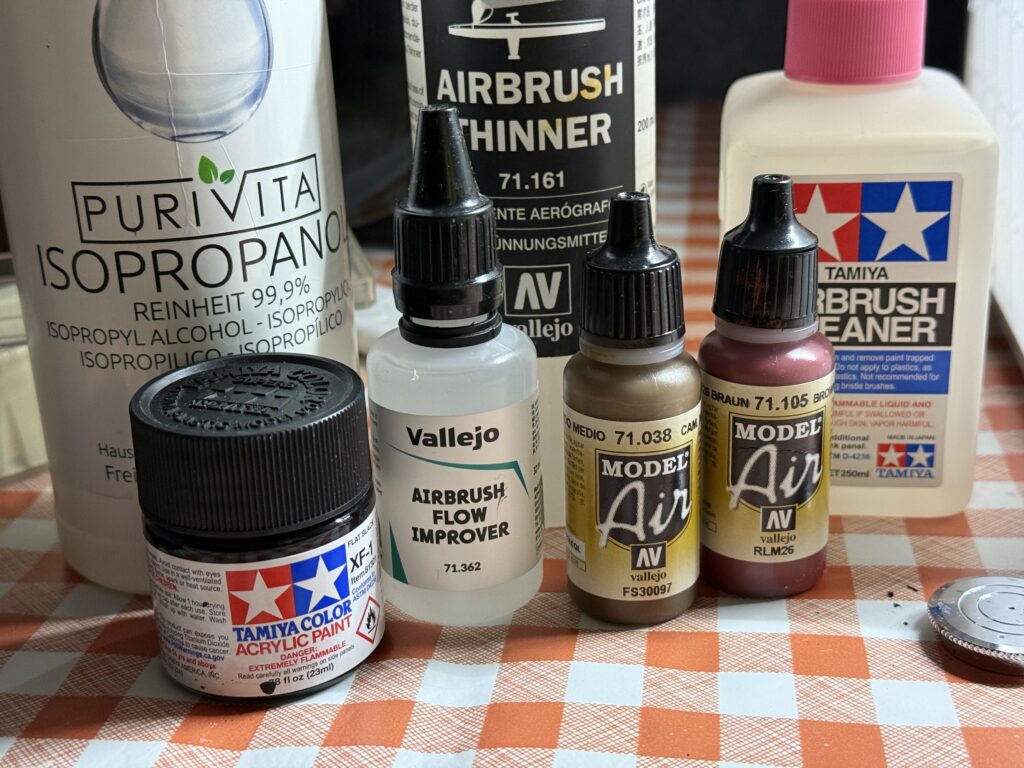
This time I experimented with a few drops of Vallejo Airbrush Flow Improver.
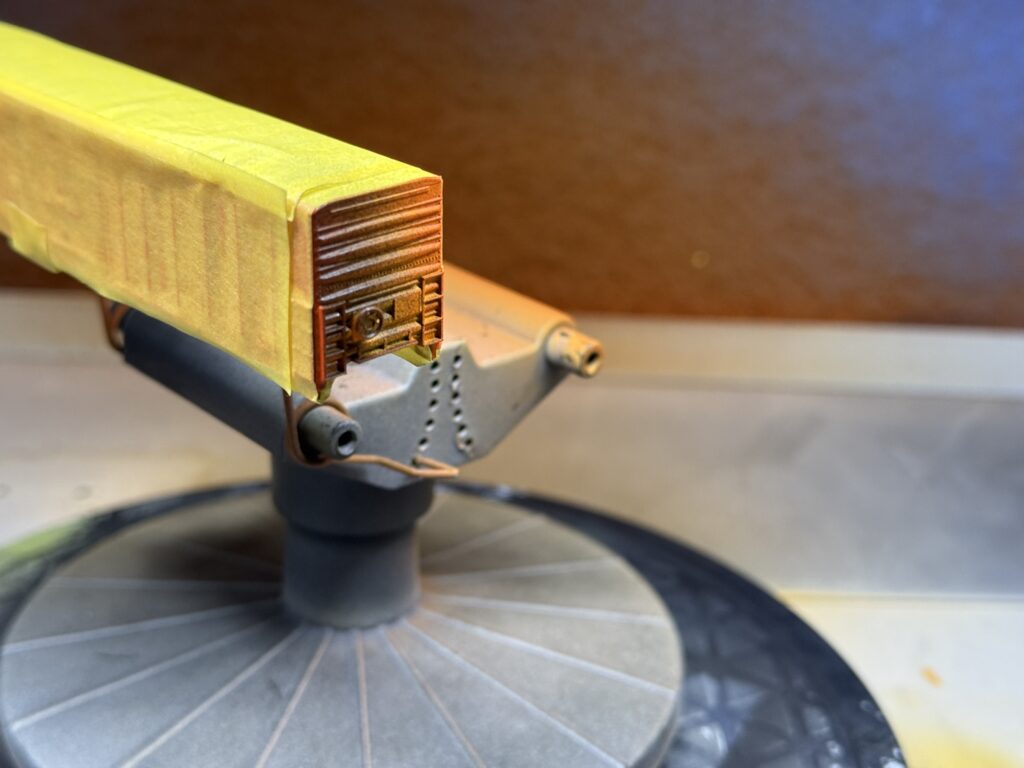
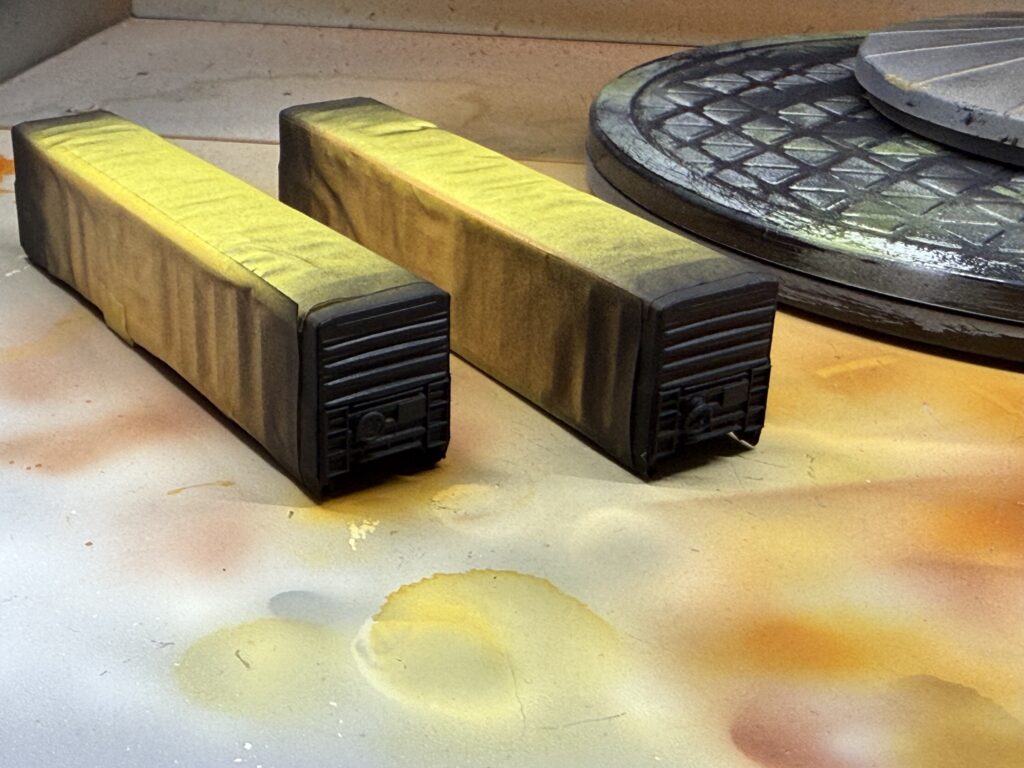
Reefers are now ready for a coat of gloss varnish. This layer provides a smooth surface for easier decal application, helping the waterslide decals adhere properly without silvering.

Lettering (applying waterslide decals)
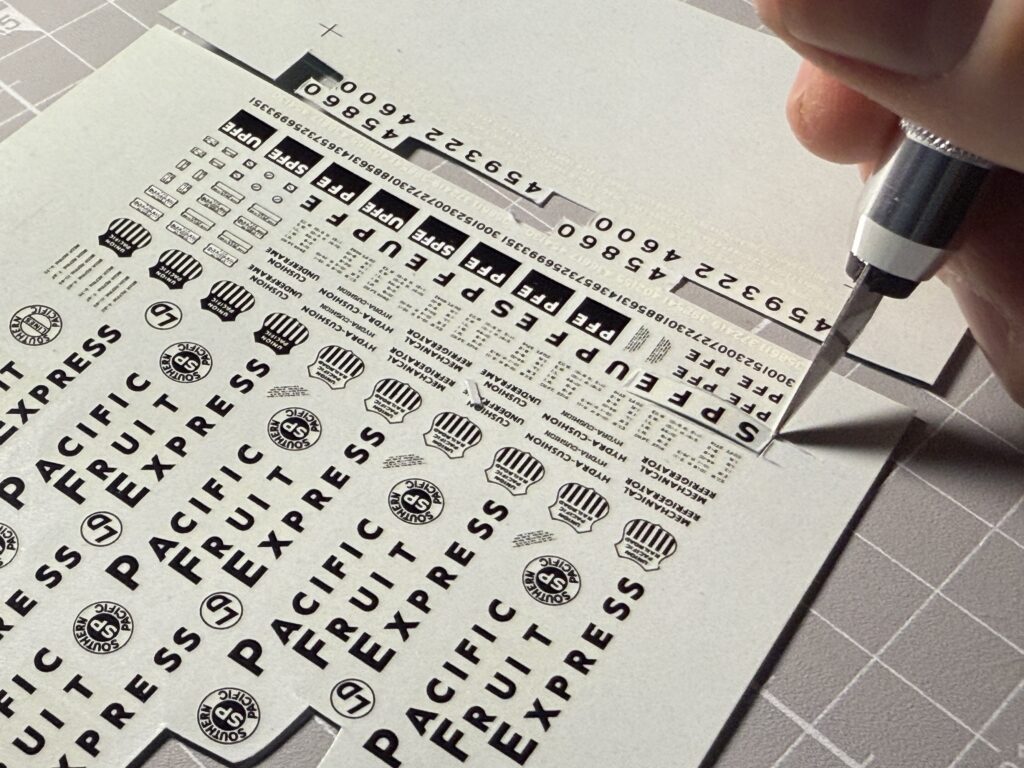
To apply the decals, I first cut them out carefully, staying close to the printed edges for a clean finish.
I soaked the decals in warm water for 10–15 seconds, just enough to loosen them from the backing paper without over-soaking. I gently slid the decal onto the car, positioning it with a soft brush or tweezers.
For tricky areas, I used Microscale Micro Set decal-setting solution to help the decal conform to surface details like rivets or panel lines. For the most difficult irregular surfaces I used Microscale Micro Sol, to soften the decals for a few seconds before applying them.
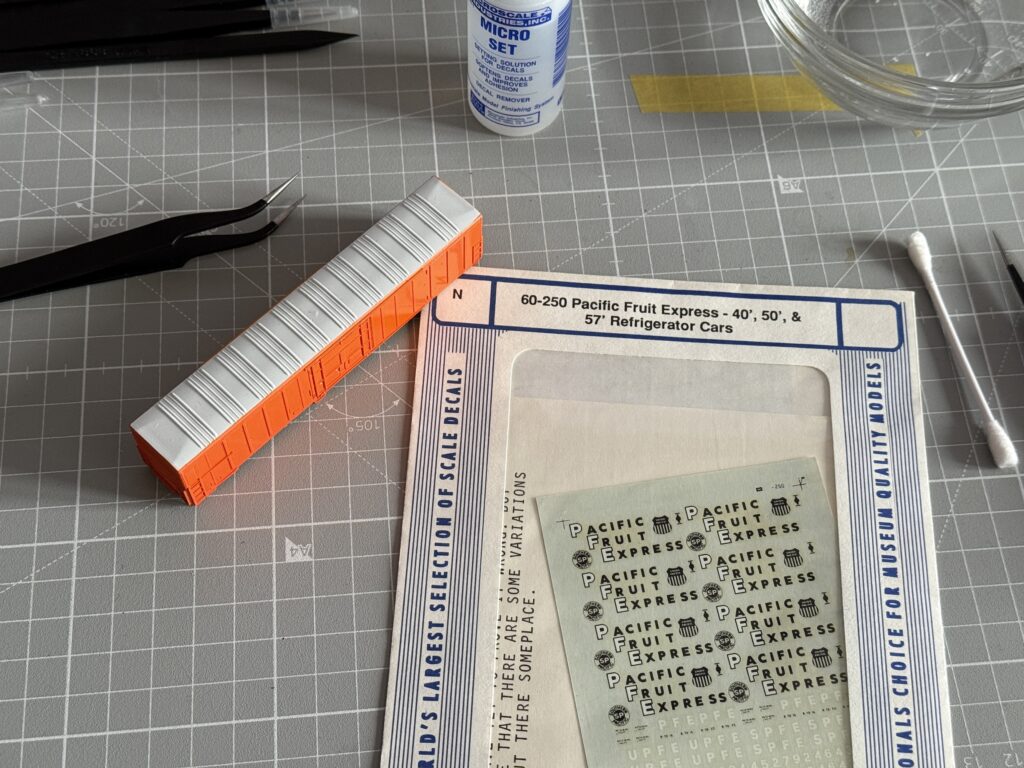
Once positioned, I lightly dabbed with a cotton swab or soft cloth to remove excess water and ensure the decal sits flush.
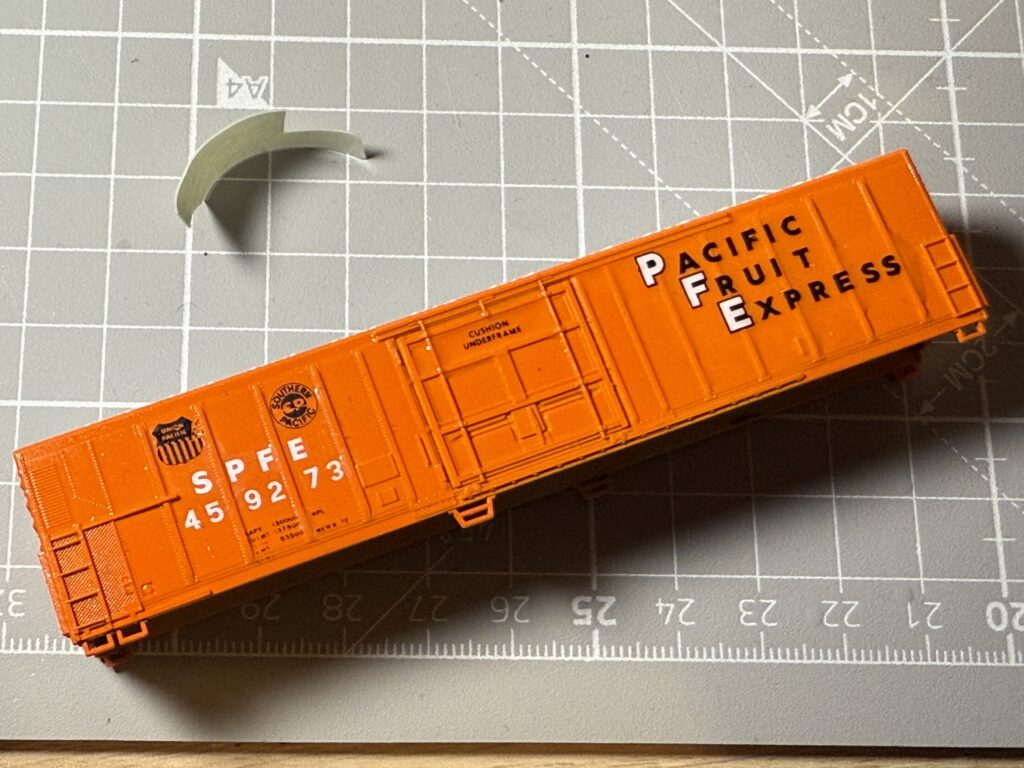

I allowed the decals to dry completely before applying a final coat of clear matte to seal and protect them.
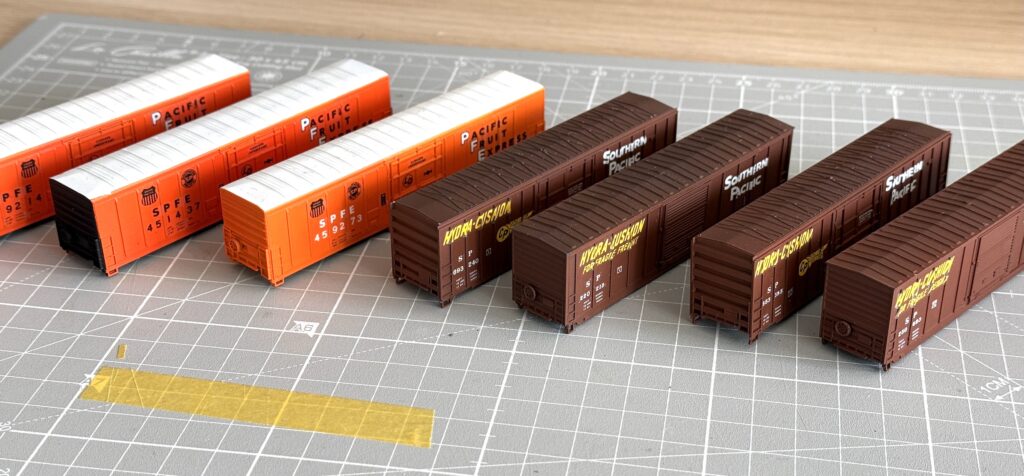
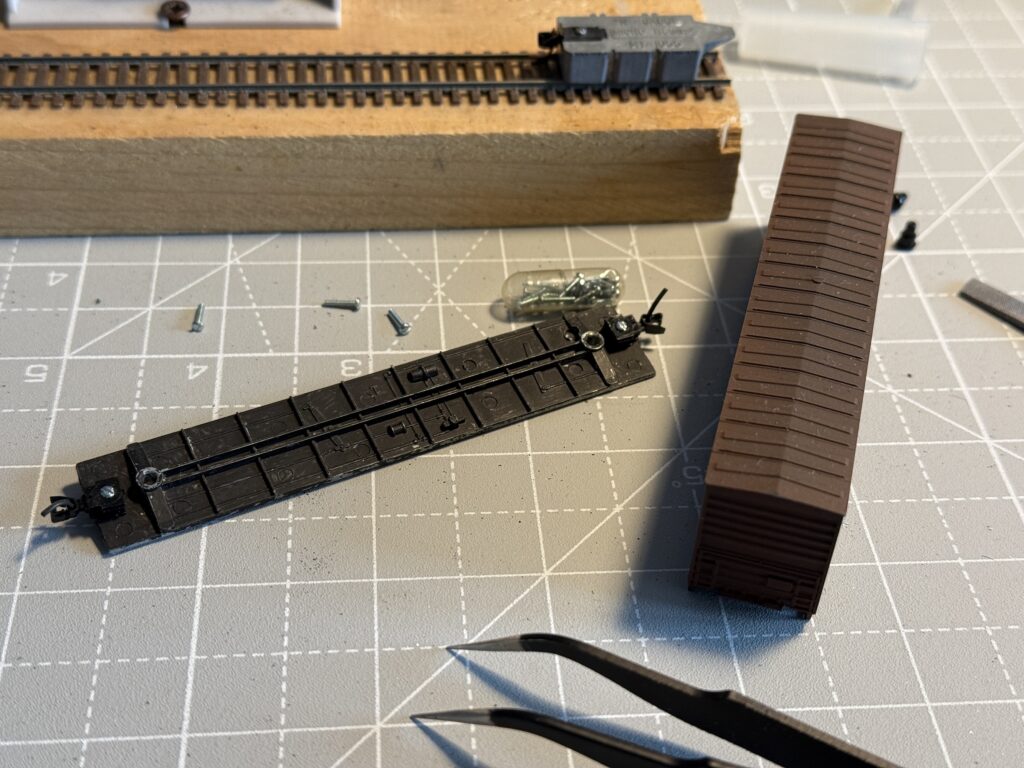
After the flat clear coat dried, I proceeded with installing Micro Trains Line 1015 body-mount couplers. I drilled a hole in the metal chassis e screwed the couplers down.
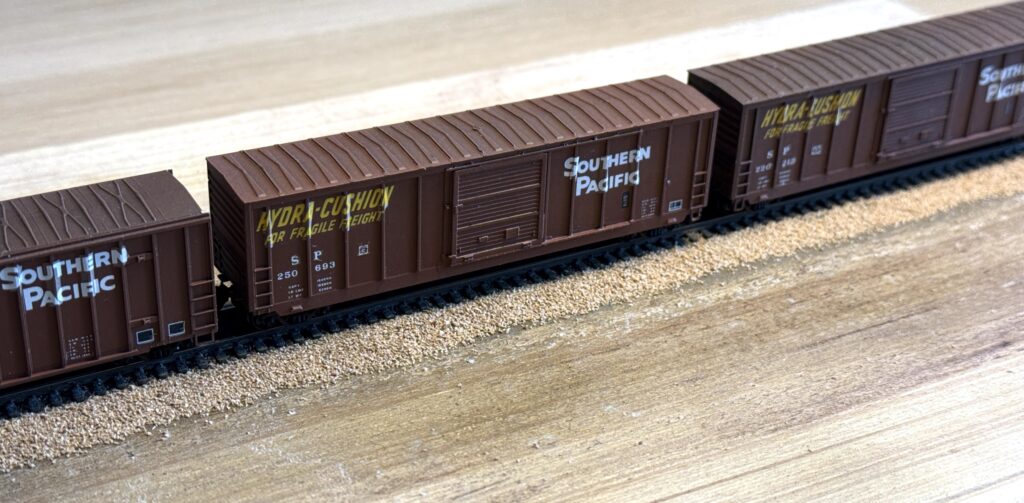
Painting undecorated cars can be a daunting task, requiring skills like airbrushing and decaling. However, finding a cheap undecorated car to experiment with and refine these techniques is fairly easy.
Moreover, if you have a decorated car that you never liked, it could be a good candidate for this project.