Building the foundation of a model railroad layout. Benchwork key steps and materials
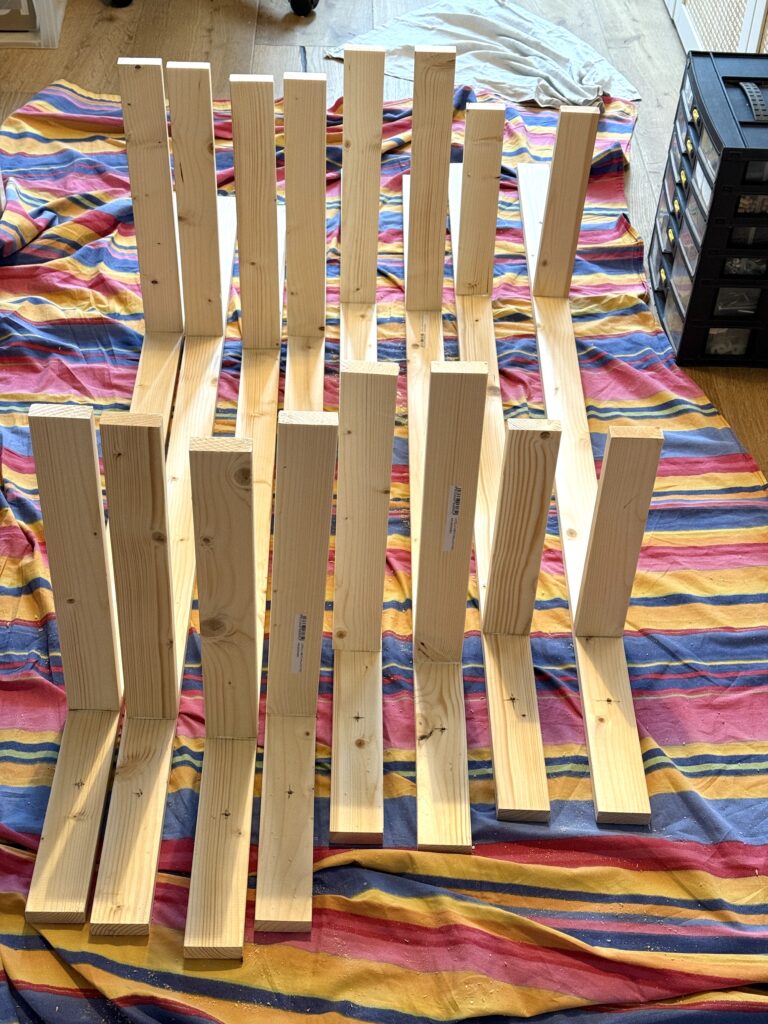
On a cold Sunday afternoon, I started preparing the main model railroad layout benchwork brackets that will be screwed to the wall. I’m using 55mm x 20mm lumber.
Below is a short (~30 sec) timelapse video of benchwork installation.
Brackets
The construction of the benchwork is a crucial step in the layout-building process. I’ve measured and cut the lumber to ensure proper alignment and support for the future layout. The brackets will be spaced along the wall, allowing for even weight distribution and access to all areas of the layout.
The wall-mounted design helps save valuable floor space while providing room for the layout to expand horizontally. Once the brackets are in place, I’ll add a layer of plywood. The plywood forms the base for the track and scenery, ensuring a smooth and level surface for the entire layout.

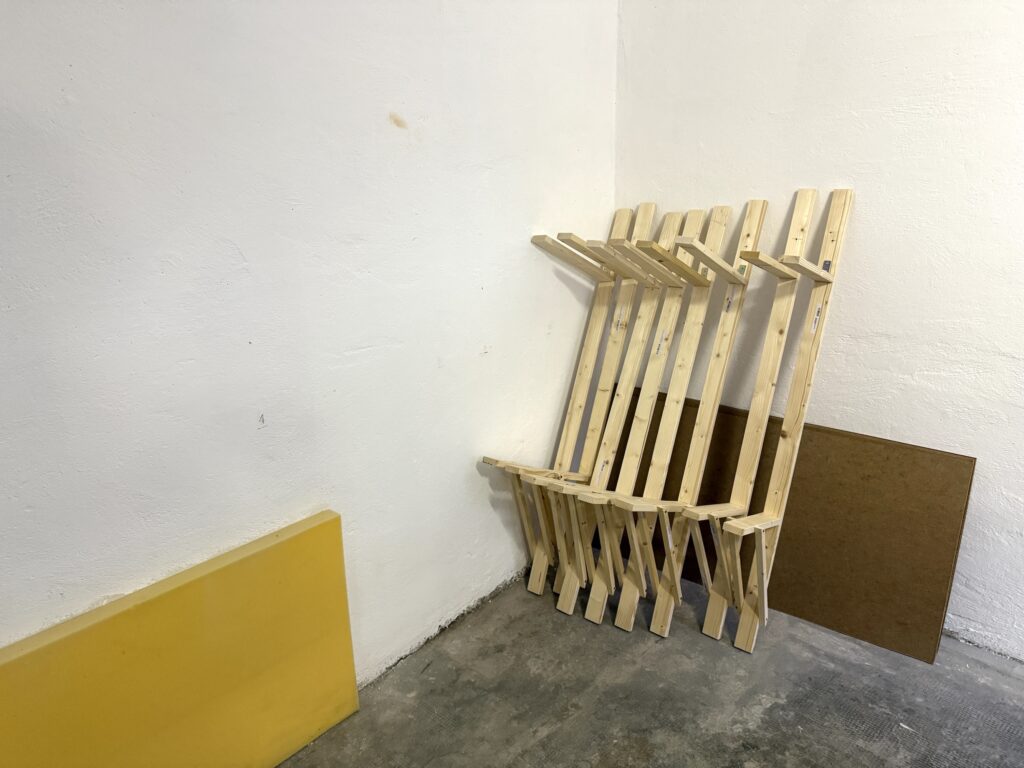
I then added cantilevered brackets for increased support. Once finished I lined them up ready for installation.

Securing the supports to the wall
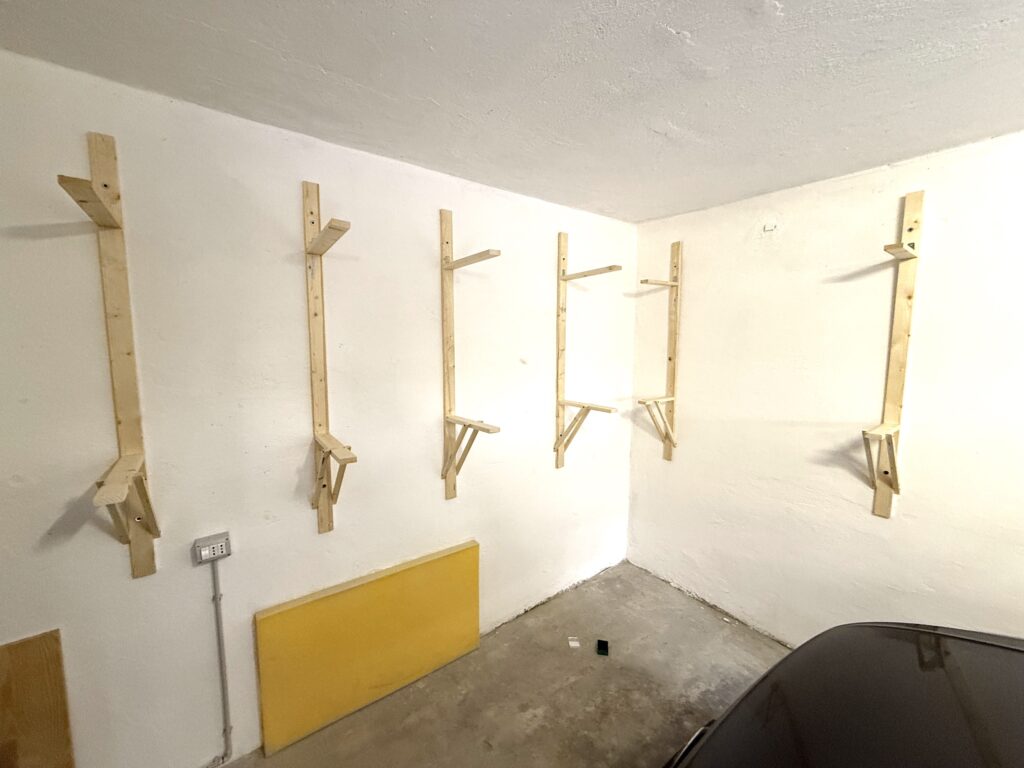
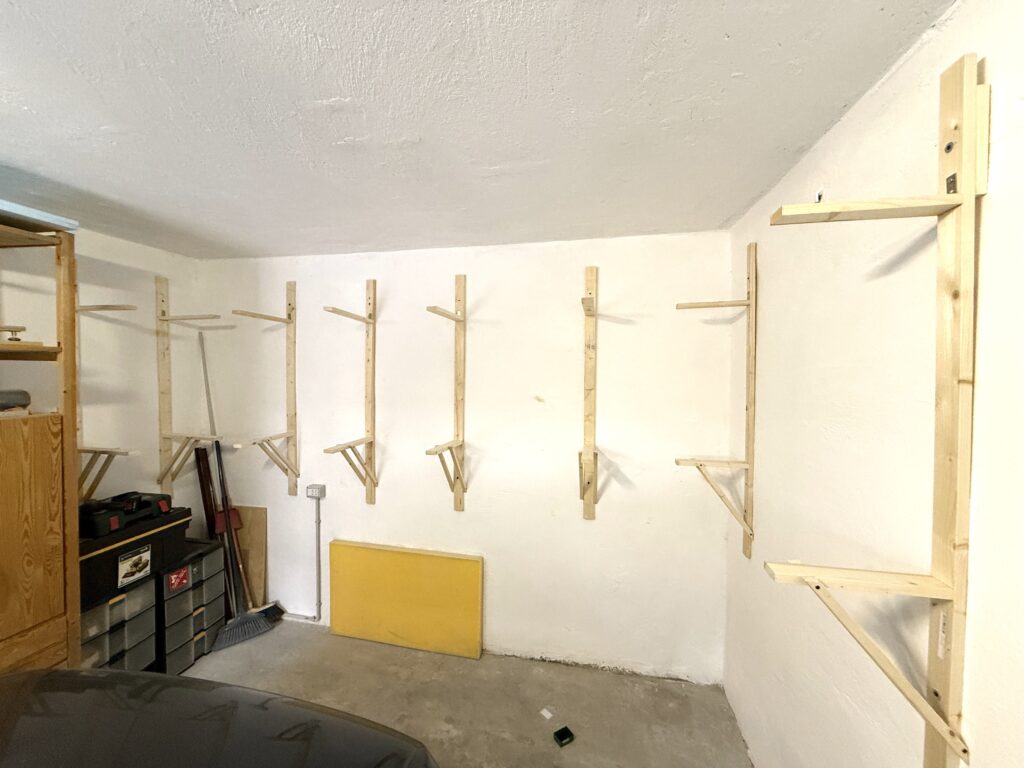
Installation is done. The upper brackets will support the valance and layout lighting.


In the photo above, you can see how the bracket on the far right revealed that the wall is not straight at all. I had to use a piece of scrap wood as a shim to mount the bracket correctly.
A very useful book on model railroad layout benchwork construction is How to Build Model Railroad Benchwork, Second Edition (Model Railroader).